The Dodo Blog
Felting and fulling methods. You’ll see different felt makers using different ones, and this may have raised the question for you: Is it really that important which ones you choose to use? I mean, they all produce felt, right?
Well, yes, I guess that’s right. But choosing the right felting and full...
I’ve spent years felting berets and trying to get them to be soft and wearable. Along the way, I tested materials, methods, and fiber ratios until I found what I was looking for.
The course FELTING SOFT HATS – THE BERET distills those experiments, based on trial and error, into a clear, practical ...
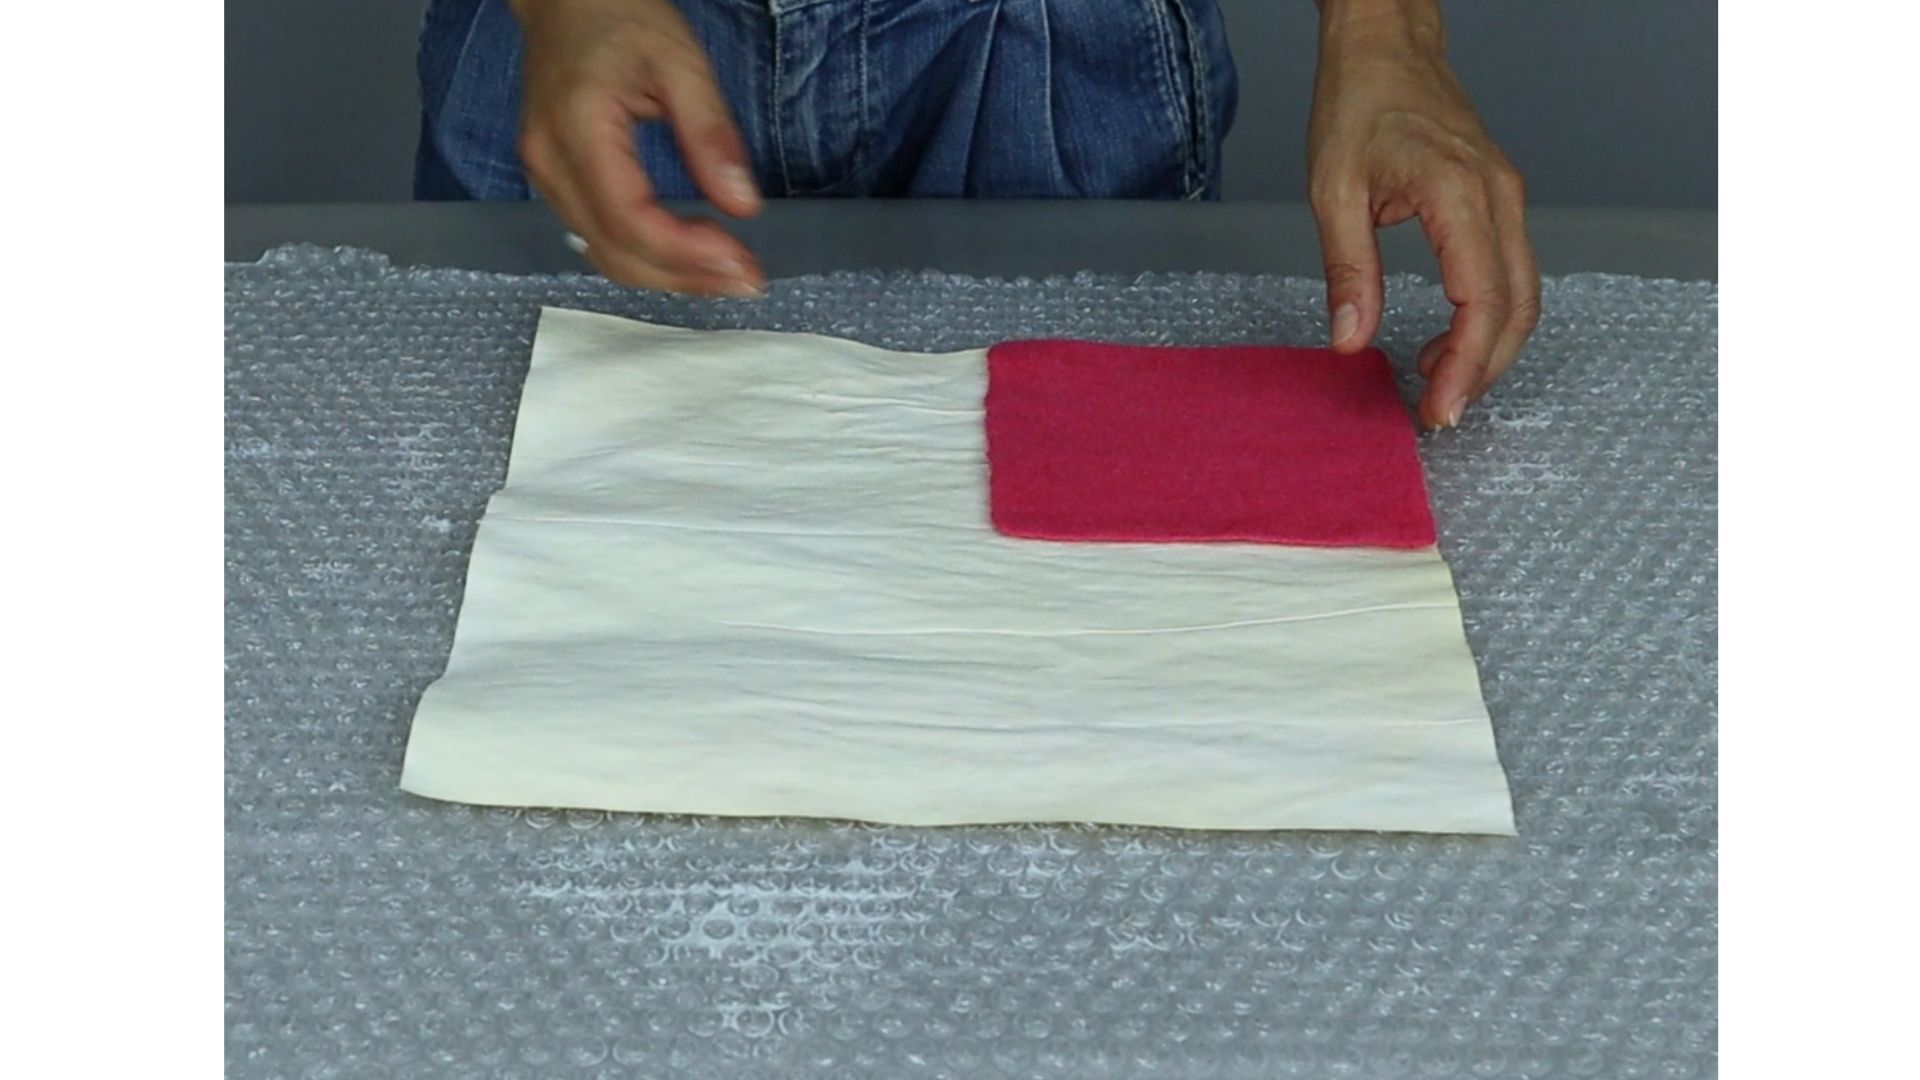
If you’ve ever wet felted a beret, you might relate to this frustration: no matter how thinly you lay out your wool, the result turns out too stiff; even with fine merino, the beret never really drapes the way you want.
I know, because I went through the same thing for years.
That got me into a lo...
Today, I want to talk to you about something that makes felt makers a little bit nervous: the S word. SAMPLES!
While I know most of us would do anything to avoid making samples before we felt a piece, I’m – once again – going to try to persuade you to make them.
Now, when we talk about making sa...
Have you ever had periods of time when you seem completely unable to have any new ideas? No good ones, no bad ones, nothing.
You sit in your studio, you tidy up, you go through your wool, through books, through images and notes you’ve been collecting for future projects, and still nothing comes up...

It’s great to be back again with you after a pause of about a month :)
Last time we spoke, I told you I was going to take a break to rest and spend time with family and friends, as well as to consider what the lesson plan would look like in the second part of the year.
So, here’s an idea of what...

If you’ve been waiting for the registration to THE DODO HUB to open, I’ve got good news. You can now sign up here.
WHO IS THE PROGRAM FOR?
You’ve been a felt maker for some years now, but …
- you feel like you’ve reached a plateau, and you don’t know how to develop your work further;
- you wan...
We start wet felting because we’re fascinated by the material and the possibilities of creating all sorts of things, from wearables to sculpture ✨💫
We see what others are doing, so we dream of what we’d like to create. But, let’s face it, wool can be stubborn, and the initial phases aren’t easy.
...
It’s finally here, the new format I’ve been mentioning for some time!
So, what is it exactly? If you’ve been following my blog or Instagram account, you’ve heard about THE DODO HUB for sure. Chances are you're curious about TDH and you’d like to know more about it.
Since it’s a one-year program, i...
Like everybody else, when I first started wet felting, I didn’t have a style or a voice. I wasn’t even thinking about having one. I was just trying to figure out how I could make the pieces I saw others do and, above all, understand how wool behaves.
If that’s where you are right now, know that eve...
Is there anything more discussed in wet felting than how to get the shrinkage you want? I don’t think so. And it’s kind of obvious, isn’t it? I mean, if wool felts by shrinking, we need to know how much it’ll shrink. Right?
The problem is so many factors influence shrinkage. So, it can all feel ove...
After experimenting with wet felting for some time, learning the basics and maybe even felting some pieces on a resist, you may feel you’d like your felt to become more professional and well finished. Yet, you may also not know what to do to get to that next level of quality you’d like to achieve.
...