I frequently get emails from felt makers asking me if they can purchase only the patterns for my baby booties. When I taught how to make slippers, I was often asked if I’d sell only the patterns for the slippers.
I opted for never offering the resist patterns, the reason being that I’m for teaching people to make their own stuff and not keeping them coming back for everything they need.
So, I’ve always wanted to show felt makers how they could make their own resist patterns. For everything they want to felt!
Â
Why should you learn to make your own patterns?
You probably have the experience of looking in vain for a specific pattern and having to make do with what you find.
You may also have noticed that, even if you managed to get a template from someone online, the size may not be the one you need. So, if you don't know what to do about it, the template will be useless.
If you've always wanted to make your own slippers, shoes or boots, but were never sure how you could make them...
Today’s video is the second one from a short series about my system to design resists for wet felting.
Last week, we looked at how we can transfer the measurements from a 3D object to a flat resist. If you didn’t have the chance to watch that video, please go back and watch it now because it’s important to be able to understand this week’s topic.
So, after designing the basic pattern, deciding on which wool type to use, how thick to lay it out, on the layout and fulling methods, it’s now time to:
6. Make a sample
7. Determine the shrinkage rate
8. Increase the pattern
9. And calculate the amount of wool for the project
Â
Watch the video for more on how to make the sample and determine the shrinkage rate.
When we have our shrinkage rate, we can increase our base pattern to make a resist in the right size to account for shrinkage.
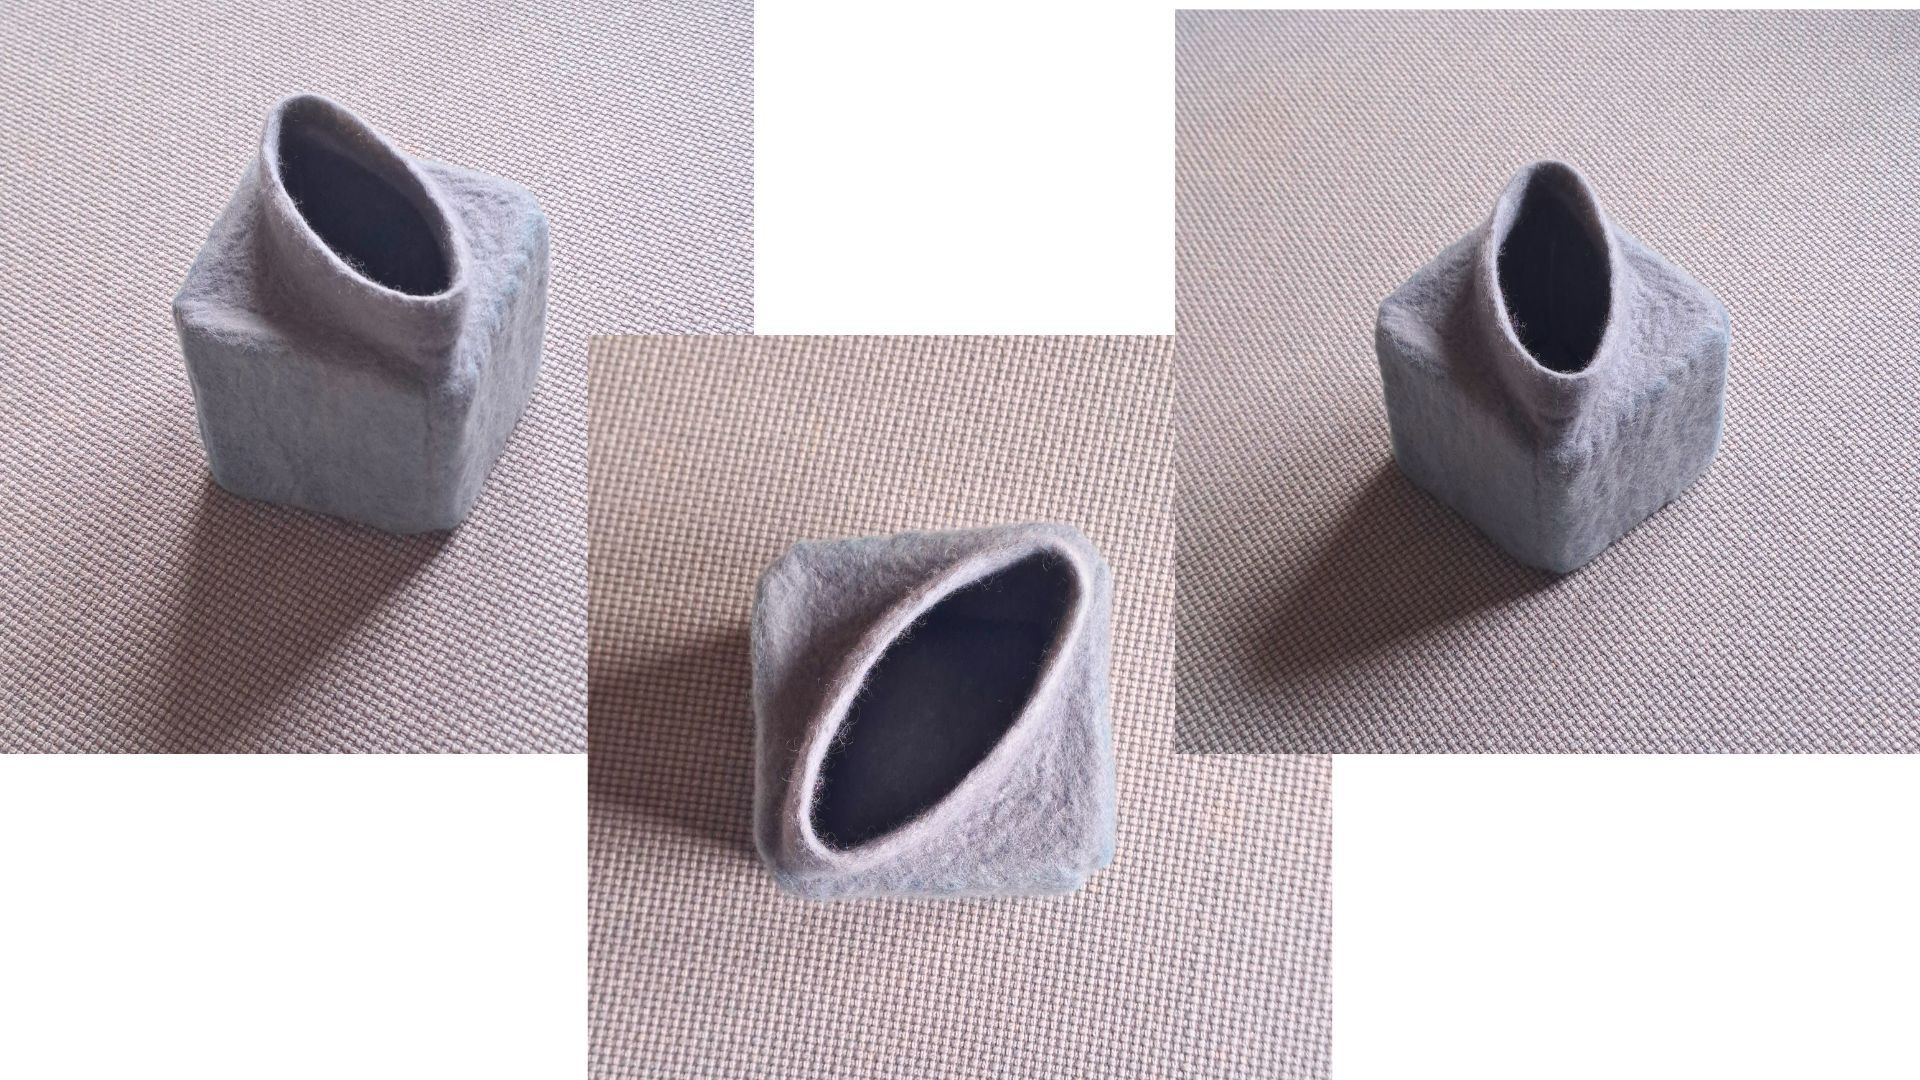
And, finally, we calculate the amount of wool we will need to felt our vase cover.
When all of this is planned, it’s time to finally felt the piece,...
What do you do when you need a resist for a new wet felting project? Do you find yourself desperately going through Facebook felting groups, YouTube channels and all over the Internet to find the right template for the piece you want to felt?
Or are you able to draw your patterns by yourself?
If you’re going around the internet looking for the template for the exact piece you want to make, you may be feeling pretty frustrated. First of all, you don’t always find it, and, many times – if you do find it – it’s not in the size you need.
So, I’d like to suggest that you consider that you can start making your own templates for the pieces you have in mind. After all, the felt makers, who sell the patterns or offer them for free, they make them as well. So, there is a way to develop your own resists for your projects.
The question is HOW!
There is, in fact, a system. If you understand how it works, I’m sure you can start making your own templates. So, I want to give you an idea of my pr...
Easter is just around the corner. Here's an idea to make your Easter gifts extra special!Â
Â
WHAT DO YOU NEED FOR THE BUNNIES?
That will depend on how many you want to make. So, I’ll just give you the list of materials for 4 bunnies like mine. You can adapt the colors and/or decoration to your own taste.
INSTRUCTIONS
Start by making the pre-felt with your wool of choice. I can’t say exactly how many layers you need, since that’ll depend on how thick you lay your wool. But 4 should do if you’re working with thick layers.
Cut 2 bunnies in pink and 2 in brown. You’ll need...
About two years ago, I taught a class called RESISTS MADE EASY – A PROVEN SYSTEM TO DESIGN RESISTS FOR WET FELTING.
It covered how to make resists for shoes, clothes, hats, bags, gloves and vessels in all sorts of shapes.
It was well received and fun to teach. But, next, I started focusing more on 3D felting and so, I haven't come back to this class since.
Lately, I’ve had people asking about it, so I’m considering teaching it again.
This time, my idea would be to make separate classes for each of the topics (shoes, clothes, hats and vessels), but to go into a bit more detail. For example, I’m thinking about covering things like the ideal fiber for each type of piece.
Before I redesign the classes, I’d like to see how much interest there is. So, if this sounds like something you’d be interested in, could you email me or send me a message on social media, answering these two questions?
This is a question I know you’re asking yourself: Is the Baby Special Edition worth it?
That’s, of course, something only you can decide. But skimming through the class description will only give you a general idea. So, I’ve made a video to show you exactly what’s inside the “baby package”.
It’s divided into 4 parts: Â
Part 1 includes the step-by-step video instructions, that walk you through all you need to know to felt your baby's jacket in 3 design variations and 3 sizes to keep up with your baby’s growth. You’ll get:
In Part 2 you get the step-by-step video instructions showing you how to make a baby hat in 6 sizes that you can change in color and shape to create different designs. You’ll get:
Today I’m bringing you something special, the Baby Special Edition.
Usually, you can only get these classes separately.
Now, for a limited time, I’m combining the Sweet Baby Jacket & Daisy Baby Hat with the Comfy Baby Booties & Tiny Baby Mittens in one package. In other words, you get 2 for the price of 1.
If you’re interested in felting baby items as gifts for family members, friends or to sell, this Baby Special Edition is for you.
Last week we had a look at how to felt thin cords the easy way. But what if you want to felt thicker ropes like the ones you use for bag handles? Are they made in the same way?
What do you do if your wool top isn’t thick enough?
How do you guarantee that no grooves form on the surface of the cord when there’s so much wool involved?
How do you make sure the ends don’t get wet and felted so that you can attach them to the bag afterwards?
And how much will the handles shrink in length?
Today we’re going to answer all those questions, so make sure you watch until the end.
And If you’ve started wet felting recently and you’re feeling a bit lost about the next step in your journey, you can download the guide I’ve prepared for you “Beginner To Intermediate Without Overwhelm”.
In this guide I give you my system that helps you know what to do next, no matter which phase you're in. You can download it here.
This video is the first one of a new series, in which we’ll be looking into the topic of making cords or ropes in wet felting.
While it’s more geared towards beginner felt makers, I know that many more experienced people also struggle with this. During my years as a felting teacher, I’ve gotten many, many questions about how to solve different issues that show up when you’re wet felting cords.
So, the goal of this series is to go through all these questions, so that you’re able to solve these problems once and for all. Today, we’ll start by looking at how to make thin cords in an easy way.
Watch the video to see how to make sure you get the right thickness for your cord, without having any creases or wrinkles on the surface. I have three tips that will make felting these thin ropes really easy:
Â
If you’ve started wet felting recently and you’re feeling a bit lost about the next step in your ...
In the last couple of weeks, we’ve been talking about different ways to make a fine and flexible.
We started by using only Merino wool. In the next sample we worked with Merino wool mixed with viscose fiber. And today I’m going to make a sample that’s going to be useful to compare with the one we did last week, the one with viscose.
What I’m going to do is I’ll be using the same template, 4 g of Merino wool, plus a piece of chiffon silk.
We’ll start by felting the sample and, when it’s ready, we’ll see how it compares to the previous two.
Make sure you stay until the end to be able to see the differences between the 3 samples. And, if you haven’t yet, go and watch the previous videos:
This was a very complete series, and we’ve covered not only how to make a fine and flexible felt, but also how to add viscose fiber to your wool and, actually, how t...
50% Complete
And let you know when there's a new blog post, tutorial or masterclass available.
Don't worry, I hate SPAM and promise to keep your email address safe.