I often get questions about felting in the comment section of my YouTube channel. Yesterday, one came up that I thought deserved a longer answer. Since it’s a frequently asked question, it made sense to me to write a blog post on the topic.
Here’s what Kathleen McKinney wanted to know: “How do you know if you’ve felted and fulled enough? How do you know when an item is finished?”
As it’s often the case in wet felting, I have to start by saying that it depends on what you’re making.
The general answer would be “do the pinch test”. If you pinch the surface of your felt and the fibers don’t lift any more, that means your felt is ready (see video).
But there’s more to it than that, so let’s go into more details for different items:
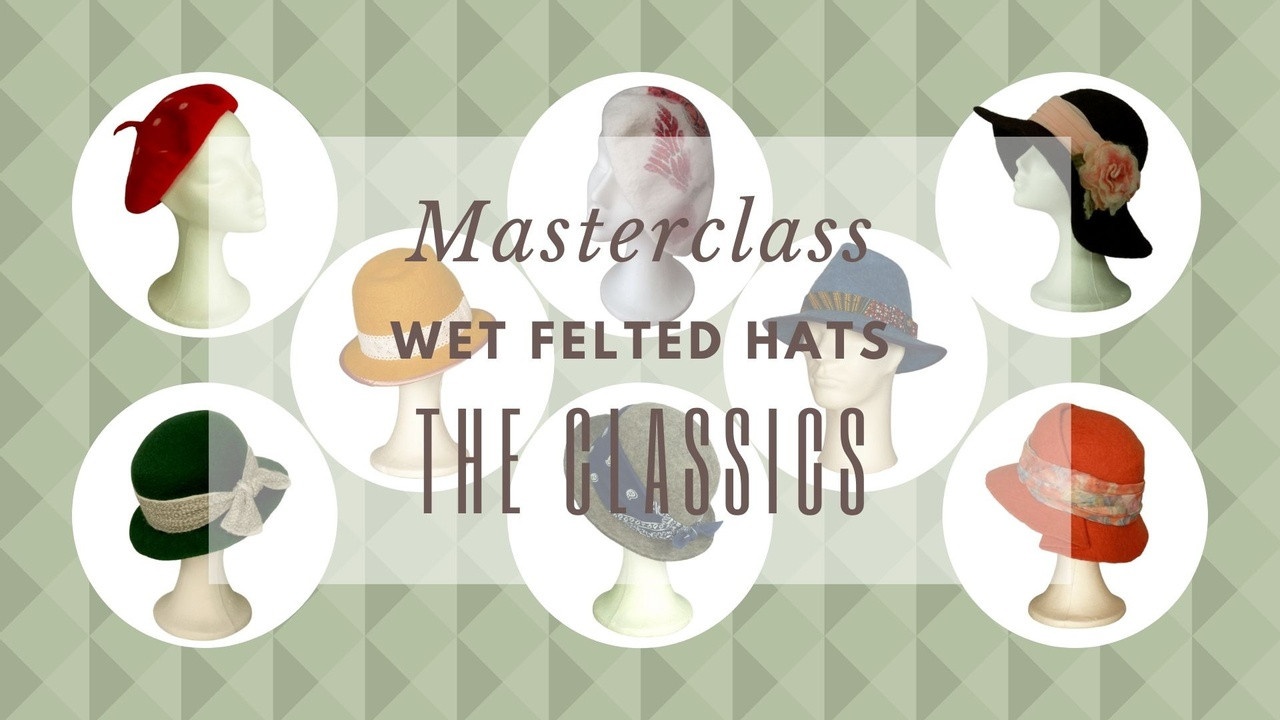
After nearly 4 weeks of the Wet Felted Hats Masterclass, the course has grown considerably.
I’ve been creating short online felting courses since 2016 but planning a masterclass with the goal to cover all the possible challenges you might have when felting a classic hat, drawing patterns with the right measures, and expanding beyond the hats in the course is an entirely different story.
In short, I had never done anything this big. So, I knew it would be a challenge for me. But I love challenges…
This is also the reason it made sense to make it a sort of a “trial” edition: the members invest considerably less than they would in the regular edition, and they get to help me finish building the course. And they know they had a big role to play in the final product.
I have to admit I felt a bit nervous at first. I’m a perfectionist, so I don’t feel comfortable delivering an “unfinished” product. But I’m so happy I decided to do...
It's oficial!!!
The cart is now open for the SPECIAL EDITION of the Wet Felted Hats Masterclass.
If you're interested in becoming a FOUNDING MEMBER, it's as easy as clicking the image below. It will take you to a page with all the information about the course. Just follow the instructions from there.
With this edition of the Masterclass you'll get:
I'll be asking you to:
If you think this is something that might interest you, you'll have to act fast, since:
A couple of weeks ago I got a sweet email from Jet van Grinsven, a felter from the Netherlands, thanking me for the inspiring blog and info, as well as asking me a question.
Jet is building a new home and wants to create a wall hanging, but isn’t sure if she should be using a stronger background as a base for the felted structure. Jet had been advised to use cheese cloth, but wasn’t certain if that was the best option. So, she wanted to know if I could give her some tips on that.
If making a felted wall hanging is something you’re thinking about, maybe you can take advantage of the tips I gave Jet, so here they are.
“You don't necessarily need to use a background as a base for your wall covering. It will depend a lot on what you're planning to felt.
I'd say the first thing to think about is how thick you'll make the piece. For example, here is a photo of a wall decoration I made some time ago. It's very light, so it doesn't need any...
Coming to you from a locked down Lisbon. Can’t lie. Not feeling great. And I’m guessing you may not be feeling great either.
But it’s time to… I nearly said ‘react’. Instead, it’s time to act. I’ve started going for a jog in the morning again. And I’m slowly getting back to a routine, as normal as possible.
Meanwhile, I’ve been working on something that I promised you a long time ago: the Wet Felted Hats Masterclass. It’s ready and I’m now testing all the connections and technical stuff that must be in place to make things work smoothly. If you haven’t had the chance to see what it’s about, here’s the link to check it out.
If all the tests I’m doing go well (and I’m expecting they do), it’ll be available for you to buy from January 30th (next Saturday) to February 5th. The course will then be accessible from February 6th and...
One of the questions I'm asked most often in my live classes is "is this enough soap?"
Felters who aren't very experienced are often unsure about how much soap to apply to their wool fibers. But there are a couple of clues that can help you avoid drowning your project in foam. And that's what I'll go into today.
Before I get into that, I'd like to say that the best way to avoid getting your project too soapy is to add soap slowly and only add more when you notice it’s not enough.
This is why using soapy water is not my preferred method of adding soap to the wool. I like adding water, getting my hands soapy first and only then applying it to the fibers. This way I have more control over how much soap is going into the wool. If you use this method, the tips I have for you today make much more sense.
You’ll know you have the right amount of soap when:
1. The wool doesn't stick to your hands.
When you’re applying soap with the method I mentioned above,...
Hi!
Today I’m here with the Q&A Sessions, something I haven’t done for quite some time.
This is where I go through all sorts of questions you have about wet felting.
So, if you have something on your mind that you haven’t been able to solve yet, drop me a line and tell me all about it.
For that, just scroll down to the end of any page on this site. Then click on “Contact” and let me know what’s troubling you. Your question might be selected for the next Q&A video!
Ok, so today I have a question from Audrey, who writes:
“I’ve a question for you and it’s about rolling and nuno felting. Is it really necessary to roll while fulling?
I really like the contact with my piece and am quite happy to spend more time massaging away, particularly when I do not have wool covering all the fabric.
I can understand rolling being preferable for a more layered piece, or larger piece to give a more even result.
Would love to...
If you’ve followed my work for some time, you’ll know that something I constantly mention is how I like to teach in a way that empowers you to develop your style and explore your creativity.
I see no point in just showing you how to felt an object. When I’m developing my courses, my goal is always to go into the details and the reasons why I’m using a particular technique. That way, you can apply what you’ve learnt in a different project, so you’re free to develop your own designs. That allows you to grow way beyond the methods taught in a tutorial.
That’s one of the reasons I was so happy when I got an email from Audrey Petzold a couple of weeks ago. Audrey bought the tutorial “Felt Food – Fruit” last April and she wanted to know if the basic procedures I used for making the toy fruits could be scaled up to make life size fruits.
I told Audrey it was perfectly possible, and that she just had to make sure that the inner...
Sharing tips, ideas, and experiences from felters who write me emails telling me about their felting projects has been on my mind for a long time.
It's so rewarding to hear from you, whether it's about something you created based on one of my tutorials or just to chat about felt. And I'm always thinking "Wouldn't it be great to have a space where we could all talk to each other".
Finding a way to exchange experiences about the things we love is becoming more important every day, especially in these times we're living. So, I'm looking for the best solution for that. But, in the meantime, I'd just love to encourage you to email me things you’d like to share.
Today I'll be doing exactly that: sharing great information I got as an answer to one of my recent posts.
A couple of weeks ago, I wrote a post about how to choose your felting suppliers. And I ended the post asking you to send me any recommendations you might have, if you've had a good experience with any shop.
Well, I got...
I’m so happy to announce that the new website is finally ready and available for you to explore!!! Yaaayyy!!!
Click here to have a look!
Nothing will change for you. All the content that is on the this site has been transferred to the new one. It just looks different and it’s organized in a different way (better, I hope). I’m also keeping the newsletter and all the rest as is.
I suggest you have a look at the Free Resources section, where there are lots of resources, some of which you can now download. After that, take a look at the Store and the Blog (now with categories to make things easier to find) to check out how things are organized.
I’m still fine tuning some things, and when everything is ready and everyone’s gotten used to the new site, I’ll delete the old one. When that happens, I’ll transfer the new site to the old domain.
So, for now the new site is hosted under the...
50% Complete
And let you know when there's a new blog post, tutorial or masterclass available.
Don't worry, I hate SPAM and promise to keep your email address safe.