The Dodo Blog
What are resists? Which materials can you use for resists?
WHAT ARE RESISTS?
By definition, a resist is anything you use between two pieces of wool to prevent that they felt with each other. In other words, you need to use a resist when you want to make a hollow object.
Only after the flat piece is created can you shape it into a 3D object. So, if you want to felt a 3D piece, your first step is to imagine how you will go from 2D to 3D.

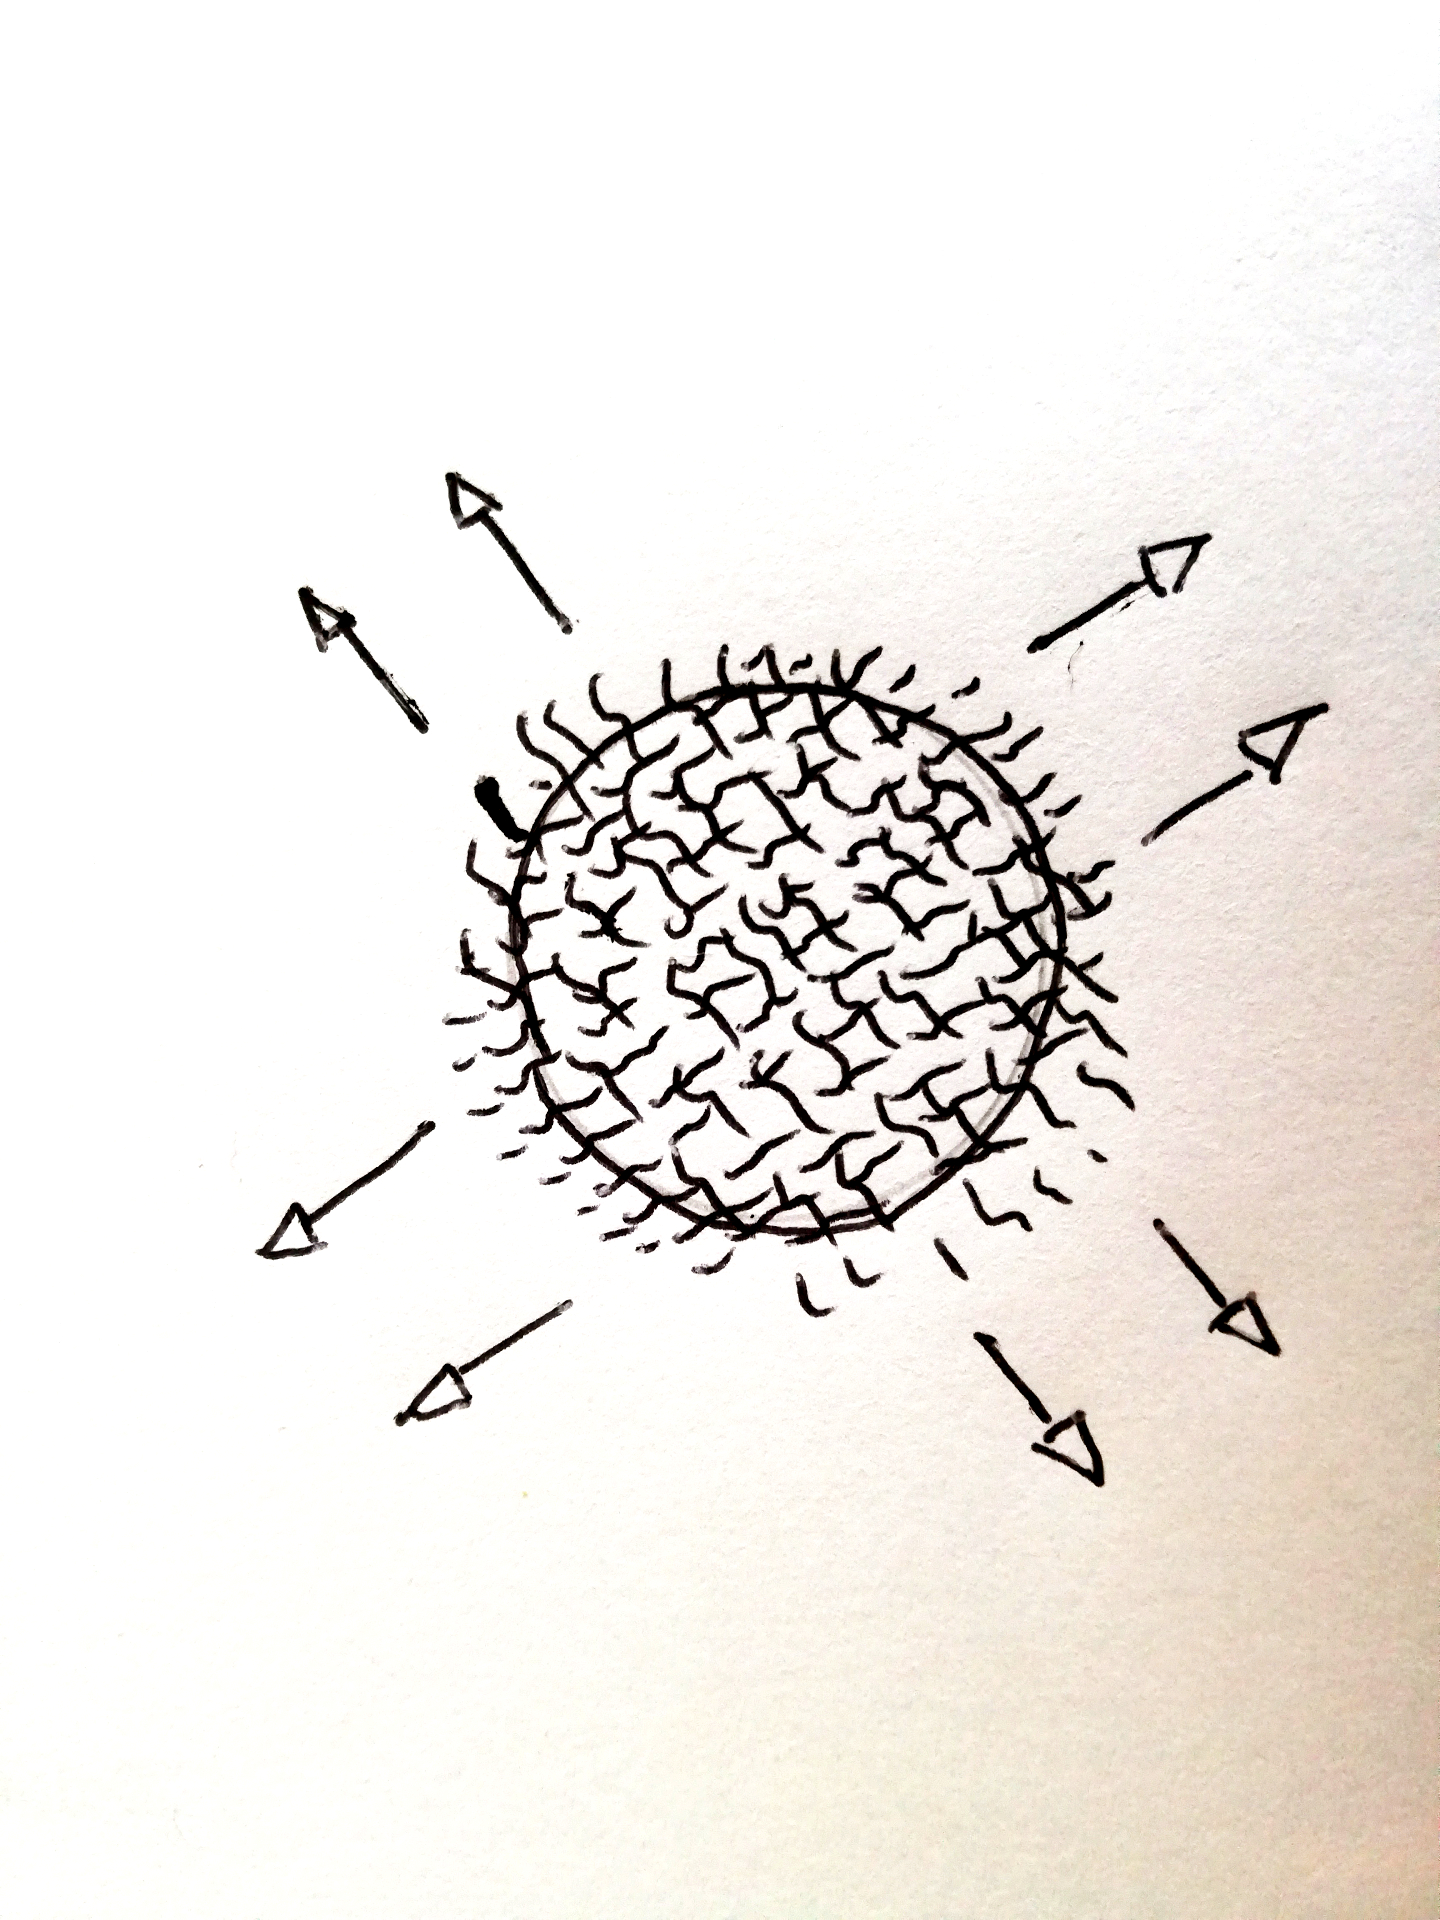
The resist is only used during the felting process. When the wool starts shrinking, the resist starts curling up inside, and it must be removed. This is usually the moment when you initiate the fulling process.
You can have a resist:
- for the whole piece (like for a hat, bag, slippers) or
- for a part of the piece (like for a pocket or a surface design).
MATERIALS FOR RESISTS
One of the most important things when using a resist is the choice of materials.
It has to be something that doesn’t felt onto wool, otherwise it’ll attach to the layers, instead of doing its job, which is to separate them. I...
How to make fiber paper for beautiful wet felted projects
Fiber paper is a material that you can create with either viscose or silk fiber (viscose paper or silk paper).
You can use it to cut out all sorts of shapes and apply them on wool to make felted pieces with a crisp design, much like what felt makers do with pre-felts.
It looks like actual paper, and because it has a nice sheen, it gives your projects a more luxurious look than wool pre-felts.
It’s pretty easy to make and you just need the fiber plus a liquid that serves as a glue to create the paper sheets.
Some felt makers use sugar or powder gelatine (3 teaspoons dissolved in 100 ml of warm water). Others use starch, and I’ve even seen people apply watered down PVA glue to their fiber.
I’ve tried both sugar water and starch. My favorite is actually sugar water. It’s also the cheapest version. But the one time I tried it, I suddenly had ants in my apartment. So, I’m back to starch now 😊 If you don't have that sort of problem where you live, that might be the best solution for you...
How much bigger should you make a resist to account for shrinkage?
We know that the amount of shrinkage in wet felting depends on many variables. Among the most important are:
- The wool type: breed, microns, fiber length. Fine wool shrinks more than coarser wool.
- The number of wool layers: if they’re odd or even, how many you lay. Also, thin layers shrink more than thick ones.
- The layout method: chevron will shrink more than the traditional layout, for example.
- Decoration: if you add silk, viscose, fabric, or pre-felts.
- Fulling methods: which ones you use, how many times, in which direction, was it evenly fulled, was it fully fulled. Aggressive fulling methods cause more shrinkage than less aggressive ones, as well as more fiber migration.
- Even the water temperature and the way the wool is dyed can influence the way it shrinks.
So, the only way to know what your results will be is to make samples before beginning a project, unless you always work with the same wool type, so you get to know very well how it behaves.
After you’ve made your...
7 tips to create straight and neat edges without cutting or folding the felt
Are you having issues making the edges of your felted projects straight and neat? I know, that’s one of the challenges for us felt makers.
Of course, it’s always possible to cut the felt and heal the edges. But it doesn’t look as nice.
Besides, sometimes, the reason why our felt doesn’t have neat edges is because we made them too thin. In those cases, cutting them doesn’t solve the problem.
So, the only way to really be happy with the edges of our felt is to make them perfect from the start.
If that’s something that has been giving you some headaches, you’ll enjoy this video.
Here are 7 easy-to-follow tips that you can apply in your next felting project to make the edges straight and neat:
Tip 1 – Lay the wool out with the thicker ends on the template edge to have a straight line from the beginning.
Tip 2 – Lay the wool out evenly. This way the wool will also felt evenly.
Tip 3 – Rub the edges from the beginning. We tend to felt more in the center, and that ends up giving us wa...
How to lay out your wool for a good quality felt
A good wool layout is essential for many reasons. It’ll give your work stability, and it’ll guarantee your felt is even. It’s also the secret to a fine drapable piece with a beautiful finishing.
Here’s a video showing you exactly how to create the perfect layout. If you don’t feel confident with this part of felting yet, why not spend some time just making samples to practice.
You don’t have to waste any wool with this exercise. You could just pre-felt the samples and use these pieces of pre-felt for future projects.
Wet Felting Demonstration: 3 Layouts For Batts
I’m really excited about this week’s topic because I find there aren’t many wet felters exploring it. And that’s the usage of batts for wet felting.
Batts are more commonly used in needle felting, but they’re definetely worth exploring in wet felting too.
When applied right, batts can:
- save you so much time and effort, since the layout is a lot less laborious than it is for tops
- help you achieve a more even layout
Also, if you're open to wet felting with batts as well as tops, you'll have a wider choice in colors, since often suppliers have a different color palett for batts and tops. And, in my experience, they produce a felt that is a bit different from the one made with tops: less shiny but smoother.
These are 3 new lessons about 3 different ways to lay wool batts, when to use them, as well as the advantages of working with them.

So, if this is something that sparks interest for you, you can access this week’s lessons by signing up for the Free Felting Membership, The D...
New Free Felting Membership
Yes! That's right. I've been working on a free felting membership and it's now available for you to enjoy :)
You see, I’ve been blogging and vlogging about wet felting for over a decade. And what I’ve noticed is that in those formats, it’s easy to lose track of what I’ve already covered since the information is scattered everywhere.
I also wanted a place where you could ask me questions in a way that other felters could also benefit from the answers. So, after considering the pros and cons of the different platforms, I decided this would be the best way to have everything under the same roof.

It's called The Dodo Sandbox because it's a place for you to play, experiment and grow your felting skills :)
The membership area is divided into the “core training” and different chapters or modules, each dedicated to a different topic. When you enter the members’ area, that’s exactly what you see.
Of course, I’ll be creating new modules about other topics as I see what your needs are. And...
Something I Wish I Knew When I Started Felting
When I first started wet felting, there where no YouTube videos and barely any books on the subject. I bought everything I could get my hands on and started experimenting. But most things on the market were very simple. So, for the most part, I learnt through trial and error.
One of the topics that nobody was going into in detail was the correct laying of the wool fibers. And, as I see it, that’s probably the most important thing you can learn about in wet felting. Sure, you do get felt no matter how well you lay your wool. But how good is your felt then?
This becomes more important if your piece needs a fair amount of shaping or if you’re making clothes, which need to adapt to your body.
So, what is the correct way to lay wool fibers?
First of all, wool for wet felting should be laid according to the shape of the piece. Let me use the example of a circular piece, like a beret. Would you lay your wool like this?
Well, you could. As I was saying, you will get a piece of felt in ...
How Do You Know If You’ve Felted Enough?
I often get questions about felting in the comment section of my YouTube channel. Yesterday, one came up that I thought deserved a longer answer. Since it’s a frequently asked question, it made sense to me to write a blog post on the topic.
Here’s what Kathleen McKinney wanted to know: “How do you know if you’ve felted and fulled enough? How do you know when an item is finished?”
As it’s often the case in wet felting, I have to start by saying that it depends on what you’re making.
The general answer would be “do the pinch test”. If you pinch the surface of your felt and the fibers don’t lift any more, that means your felt is ready (see video).
But there’s more to it than that, so let’s go into more details for different items:
- Felted ball – If you’re felting a ball, I recommend you do the “bounce test” to make sure it’s ready. More on that in this blog post.
- Pre-felt – If you’re making a pre-felt, you don’t want it to be completely felted, because you might want to have it ...
Tips For Wet Felted Wall Hangings
A couple of weeks ago I got a sweet email from Jet van Grinsven, a felter from the Netherlands, thanking me for the inspiring blog and info, as well as asking me a question.
Jet is building a new home and wants to create a wall hanging, but isn’t sure if she should be using a stronger background as a base for the felted structure. Jet had been advised to use cheese cloth, but wasn’t certain if that was the best option. So, she wanted to know if I could give her some tips on that.
If making a felted wall hanging is something you’re thinking about, maybe you can take advantage of the tips I gave Jet, so here they are.
“You don't necessarily need to use a background as a base for your wall covering. It will depend a lot on what you're planning to felt.
I'd say the first thing to think about is how thick you'll make the piece. For example, here is a photo of a wall decoration I made some time ago. It's very light, so it doesn't need any particular background because the piece isn...

