The Dodo Blog
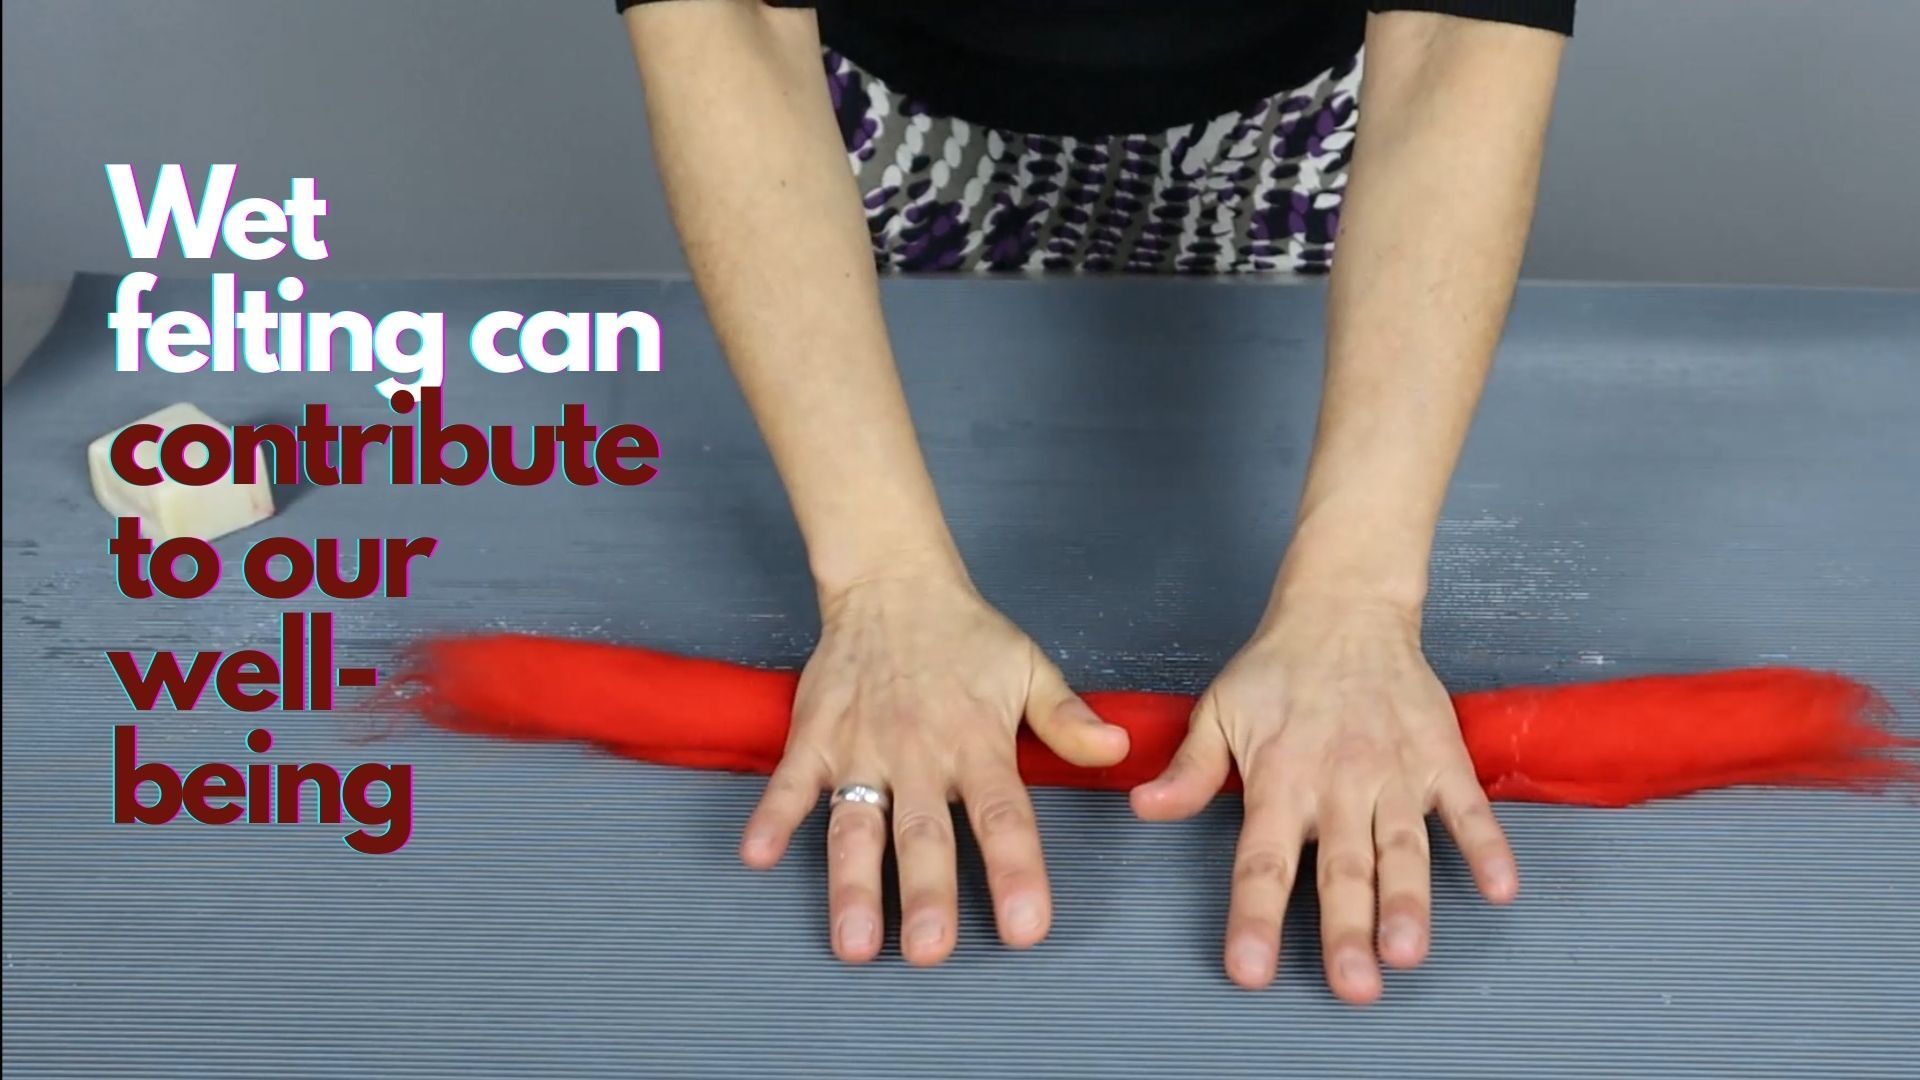
Wet felting contributes to our well-being and it can even be therapeutic. It’s been used in the Waldorf method for a long time to cultivate the connection to Nature through a natural material, to engage the senses, develop fine motor skills, concentration and creativity in children.
If you’ve been ...
Today, I want to talk to you about something that makes felt makers a little bit nervous: the S word. SAMPLES!
While I know most of us would do anything to avoid making samples before we felt a piece, I’m – once again – going to try to persuade you to make them.
Now, when we talk about making sa...
We start wet felting because we’re fascinated by the material and the possibilities of creating all sorts of things, from wearables to sculpture ✨💫
We see what others are doing, so we dream of what we’d like to create. But, let’s face it, wool can be stubborn, and the initial phases aren’t easy.
...
It’s finally here, the new format I’ve been mentioning for some time!
So, what is it exactly? If you’ve been following my blog or Instagram account, you’ve heard about THE DODO HUB for sure. Chances are you're curious about TDH and you’d like to know more about it.
Since it’s a one-year program, i...
Like everybody else, when I first started wet felting, I didn’t have a style or a voice. I wasn’t even thinking about having one. I was just trying to figure out how I could make the pieces I saw others do and, above all, understand how wool behaves.
If that’s where you are right now, know that eve...
Is there anything more discussed in wet felting than how to get the shrinkage you want? I don’t think so. And it’s kind of obvious, isn’t it? I mean, if wool felts by shrinking, we need to know how much it’ll shrink. Right?
The problem is so many factors influence shrinkage. So, it can all feel ove...
In the last couple of weeks, I’ve been making big pre-felt sheets for a piece I’m working on. And every single one of them has given me problems felting.
This can happen for several reasons. It either has something to do with the amount of soap or water, or with the temperature. When this happens, ...
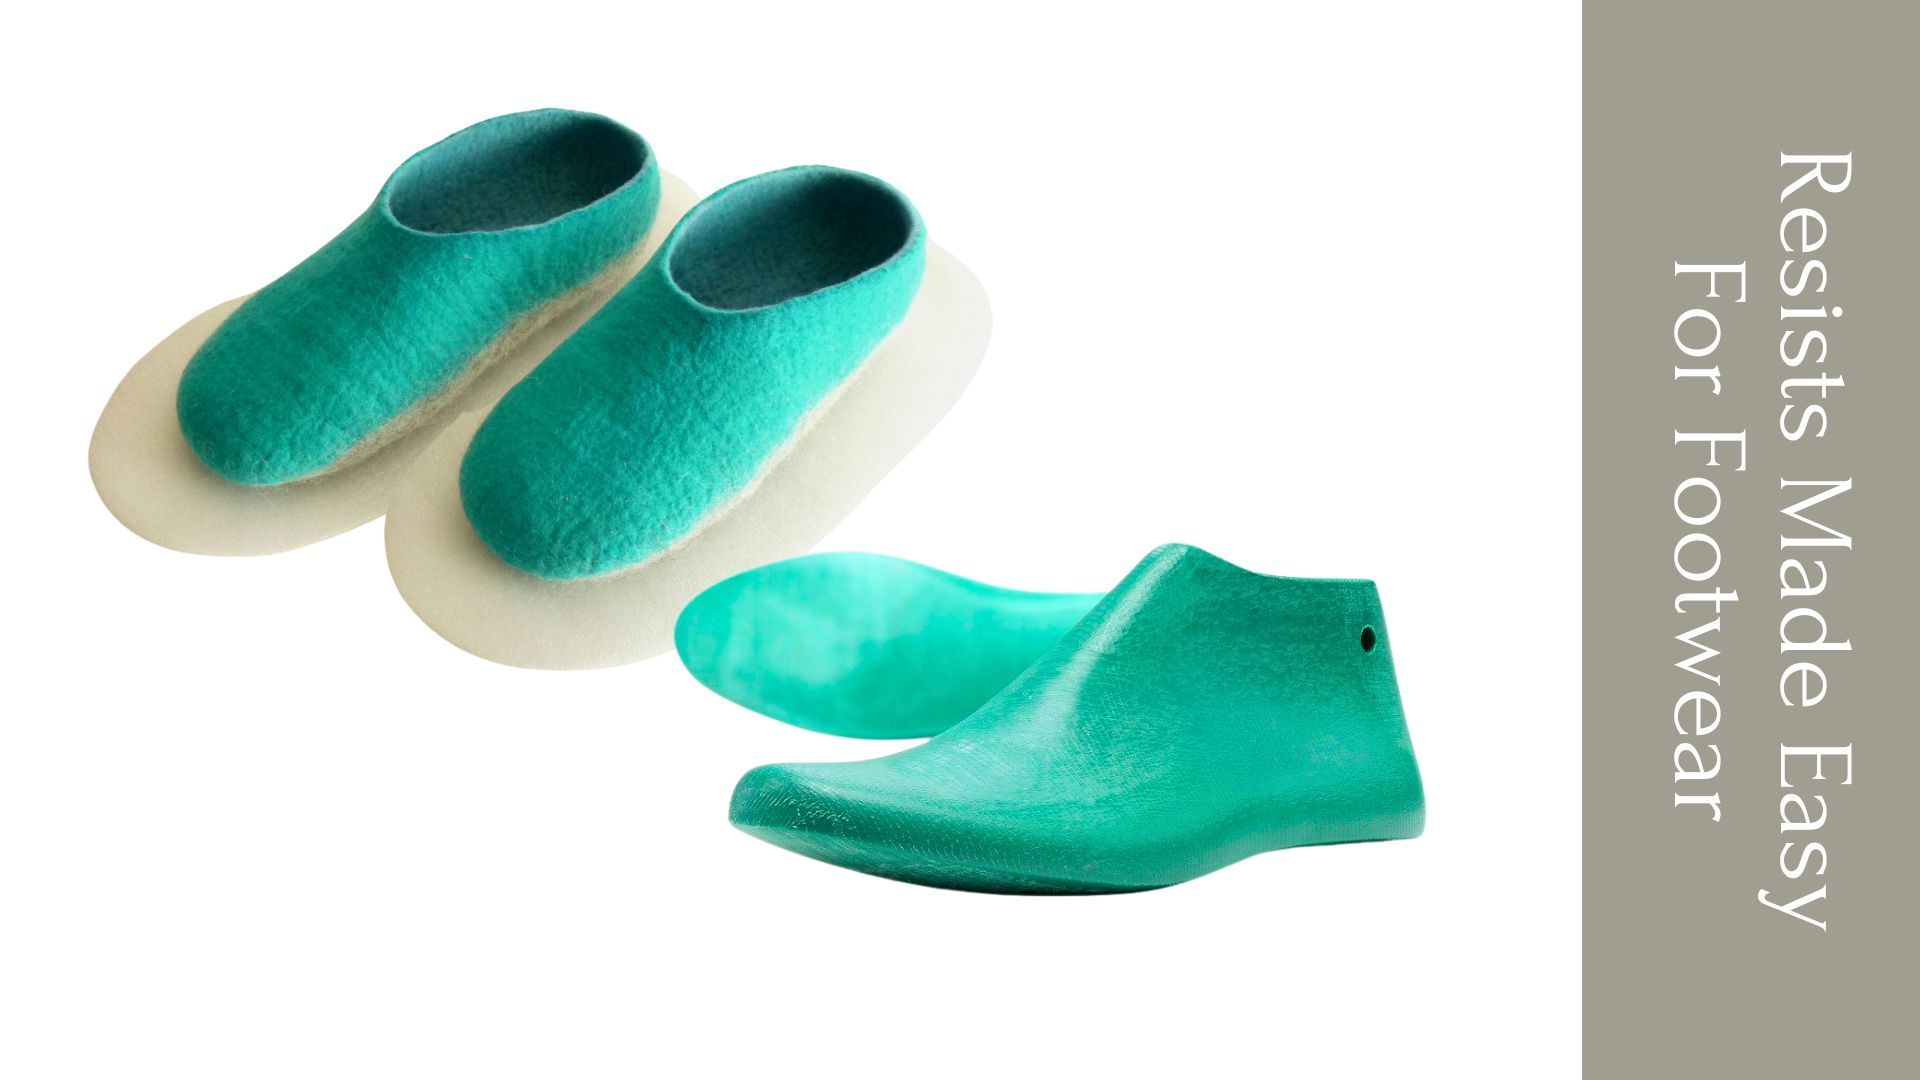
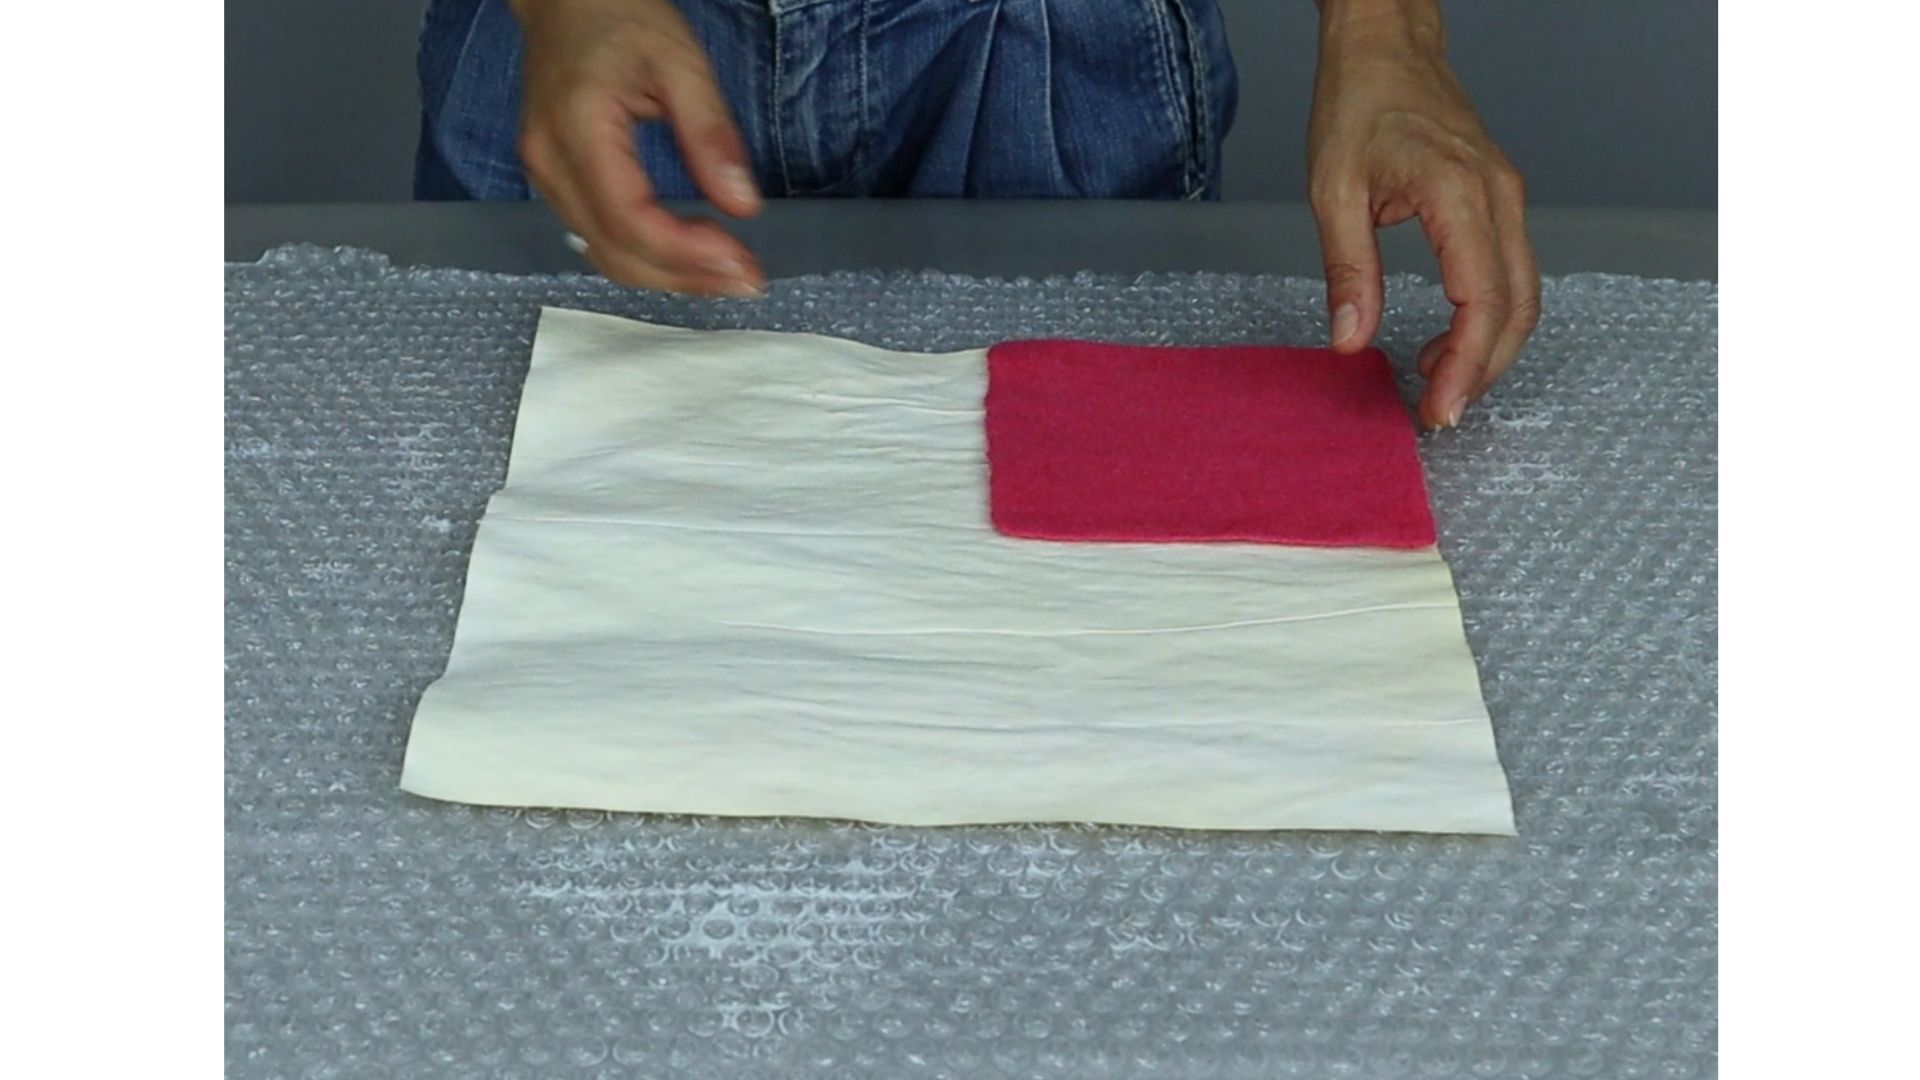
I frequently get emails from felt makers asking me if they can purchase only the patterns for my baby booties. When I taught how to make slippers, I was often asked if I’d sell only the patterns for the slippers.
I opted for never offering the resist patterns, the reason being that I’m for teaching...
Easter is just around the corner. Here's an idea to make your Easter gifts extra special!
WHAT DO YOU NEED FOR THE BUNNIES?
That will depend on how many you want to make. So, I’ll just give you the list of materials for 4 bunnies like mine. You can adapt the colors and/or decoration to your ow...
Last week we had a look at how to felt thin cords the easy way. But what if you want to felt thicker ropes like the ones you use for bag handles? Are they made in the same way?
What do you do if your wool top isn’t thick enough?
How do you guarantee that no grooves form on the surface of the cord ...
This video is the first one of a new series, in which we’ll be looking into the topic of making cords or ropes in wet felting.
While it’s more geared towards beginner felt makers, I know that many more experienced people also struggle with this. During my years as a felting teacher, I’ve gotten man...

THE STORY BEHIND THIS PROJECT
I belong to a small felt club that gets together once a month via Zoom to felt in a group setting.
In our December meeting, the suggestion was that we create seasonal pieces. We usually felt 3D/sculptural items, and that was planned for December as well. But even thou...
