The Dodo Blog
Today I'd like to talk to you about my new wet felting program. It's open for registration for another couple of days.
I created it for advanced beginners or intermediate felt makers:
- If you're feeling like you'd like to make progress, but you don't know how
- If you'd like to improve the quality ...
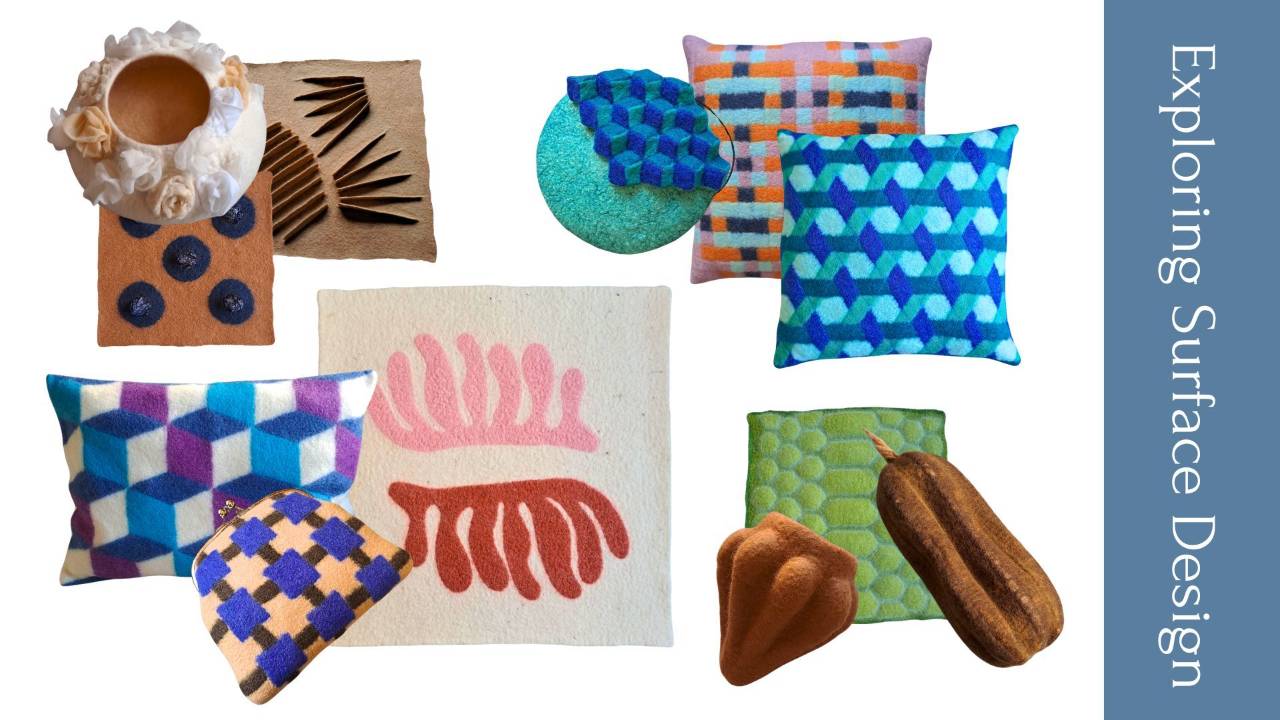
My new online program, Exploring Surface Design, is now open for registration until April 6th.
This program grew out of the evolution of The Dodo Hub into three shorter, more focused trainings. And this one is dedicated entirely to surface design.
If you’ve ever felt that your surfaces could be mo...
When you’re new to wet felting, the hardest part isn’t the techniques. It’s not knowing what actually matters and why.
Most beginners are shown steps to follow, but not the reasoning behind them. So, when something doesn’t work, you’re left guessing: Was it the wool? The soap? The water? The way I ...
Have you checked out what’s in the new class?
It’s called Wet Felting Foundations - Everything You Need To Get Started and it’s the first step in a three-part beginner pathway, created to help you build strong, reliable skills and grow into a confident intermediate felt maker.
The registration sta...
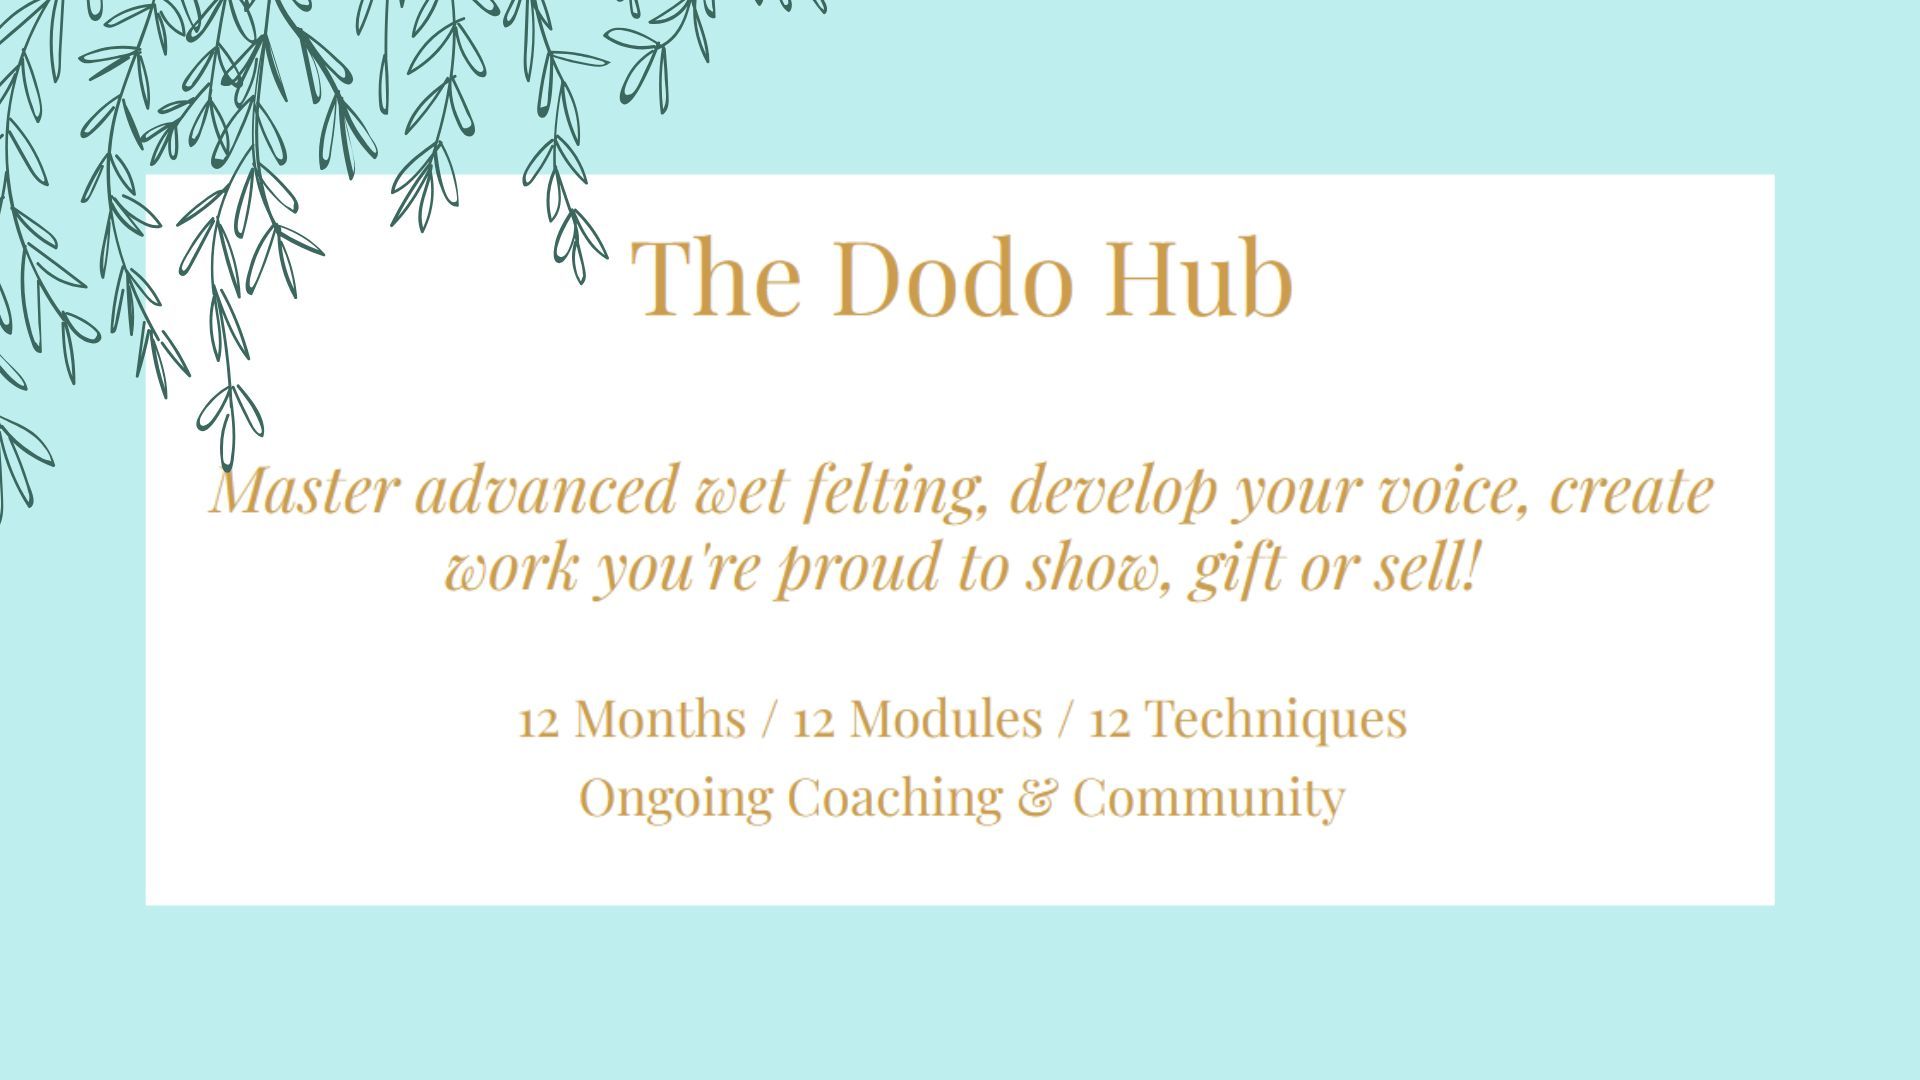
If you’ve been waiting for the registration to THE DODO HUB to open, I’ve got good news. You can now sign up here.
WHO IS THE PROGRAM FOR?
You’ve been a felt maker for some years now, but …
- you feel like you’ve reached a plateau, and you don’t know how to develop your work further;
- you wan...
We start wet felting because we’re fascinated by the material and the possibilities of creating all sorts of things, from wearables to sculpture ✨💫
We see what others are doing, so we dream of what we’d like to create. But, let’s face it, wool can be stubborn, and the initial phases aren’t easy.
...
It’s finally here, the new format I’ve been mentioning for some time!
So, what is it exactly? If you’ve been following my blog or Instagram account, you’ve heard about THE DODO HUB for sure. Chances are you're curious about TDH and you’d like to know more about it.
Since it’s a one-year program, i...
Is there anything more discussed in wet felting than how to get the shrinkage you want? I don’t think so. And it’s kind of obvious, isn’t it? I mean, if wool felts by shrinking, we need to know how much it’ll shrink. Right?
The problem is so many factors influence shrinkage. So, it can all feel ove...
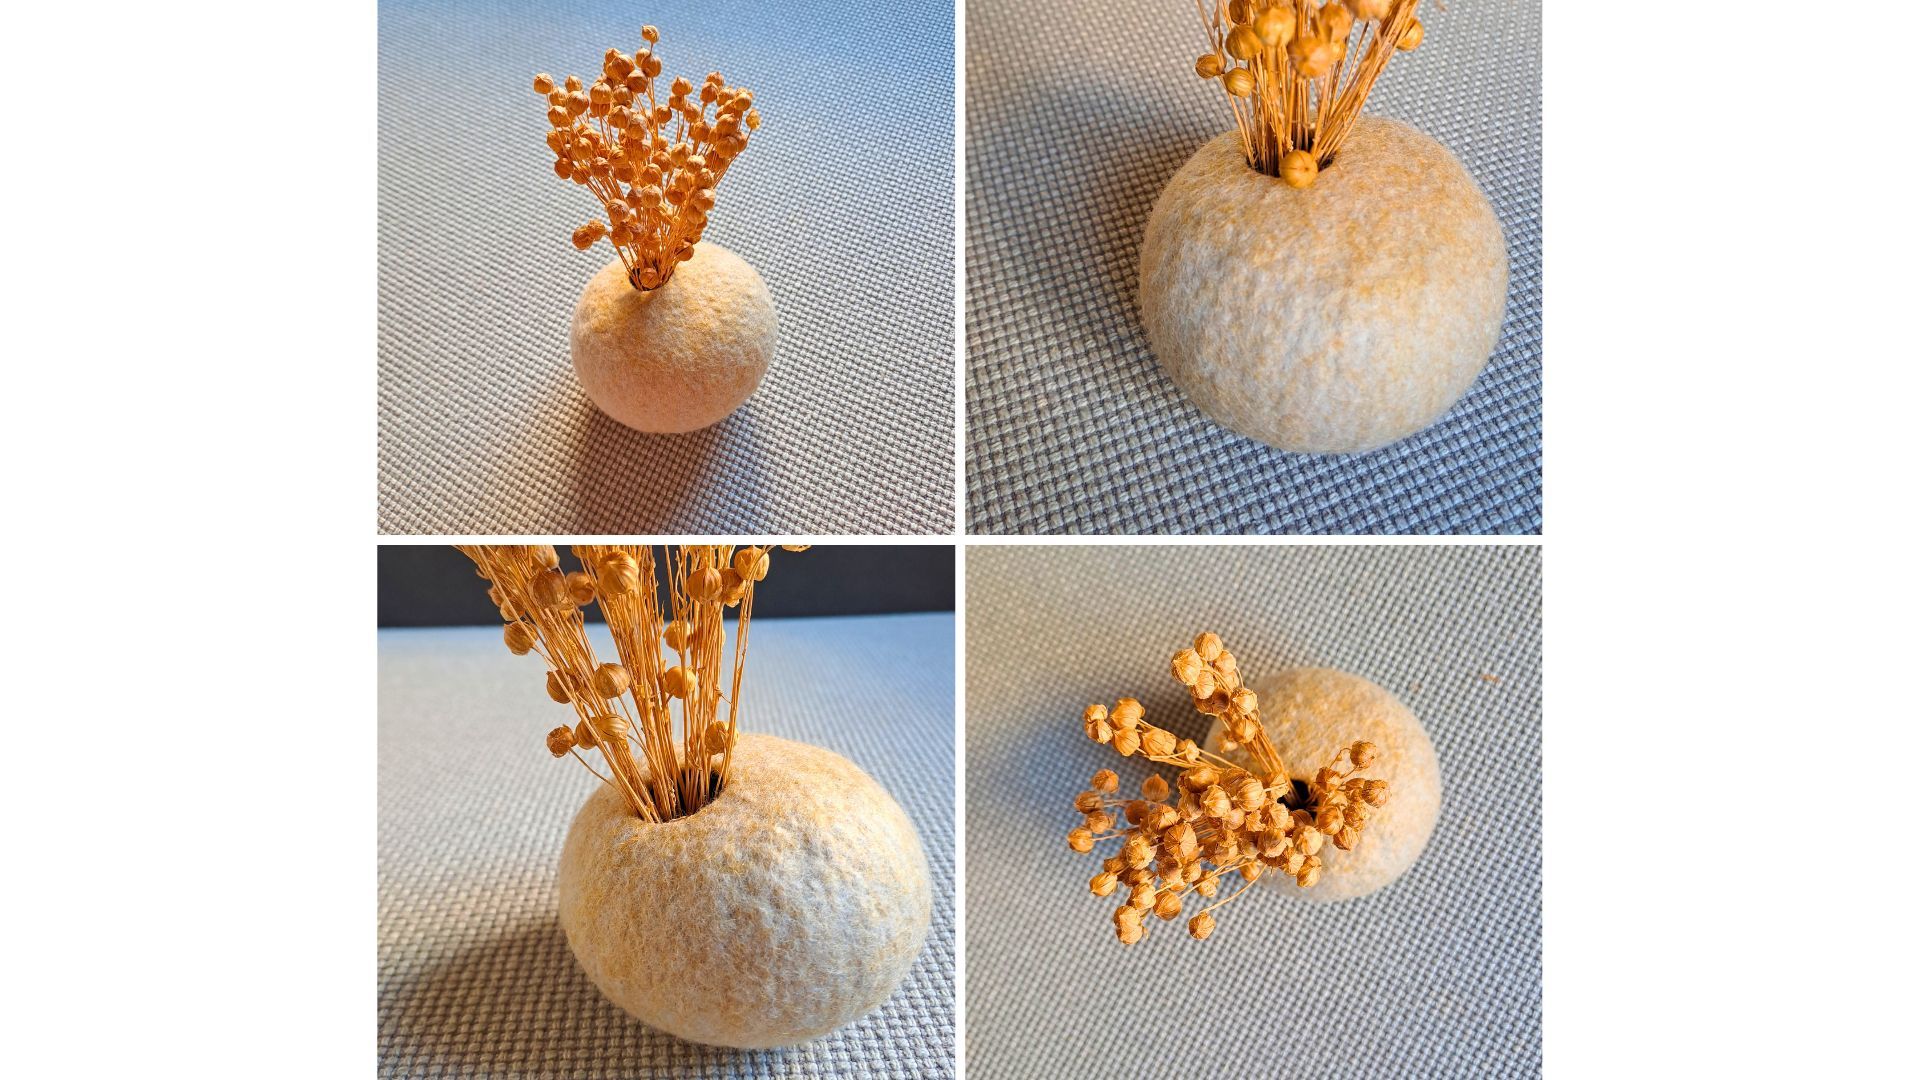
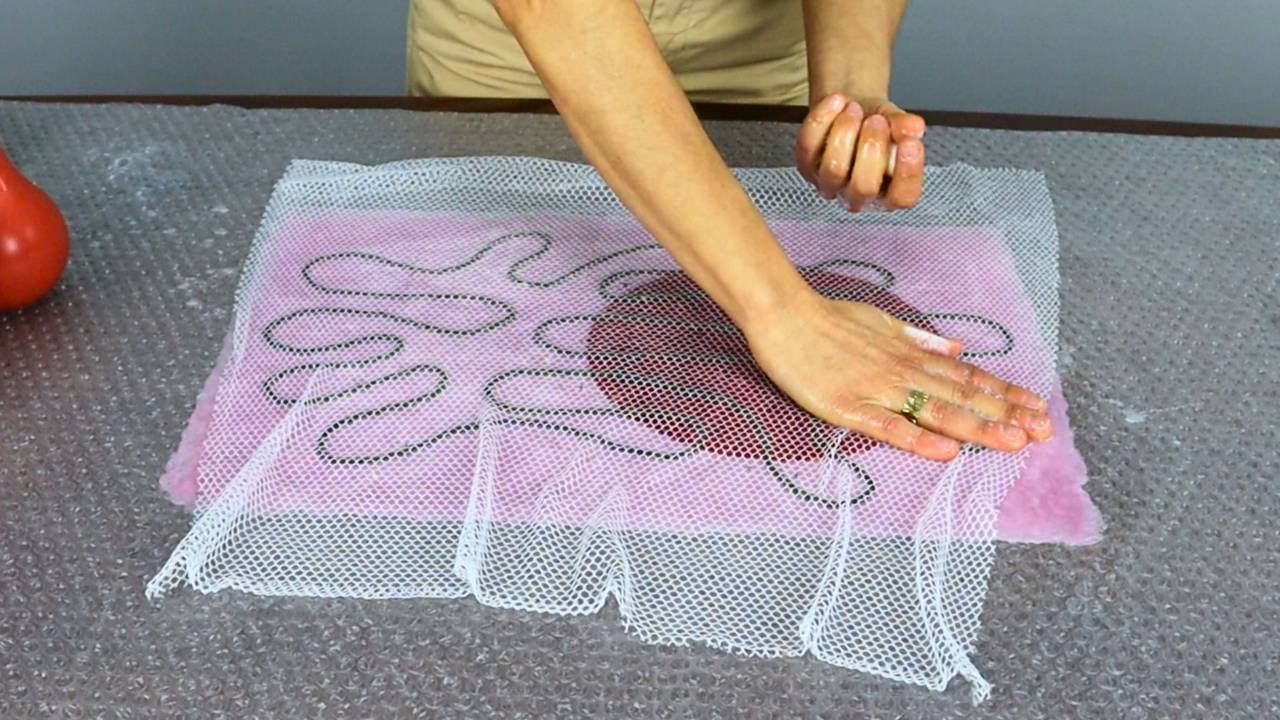
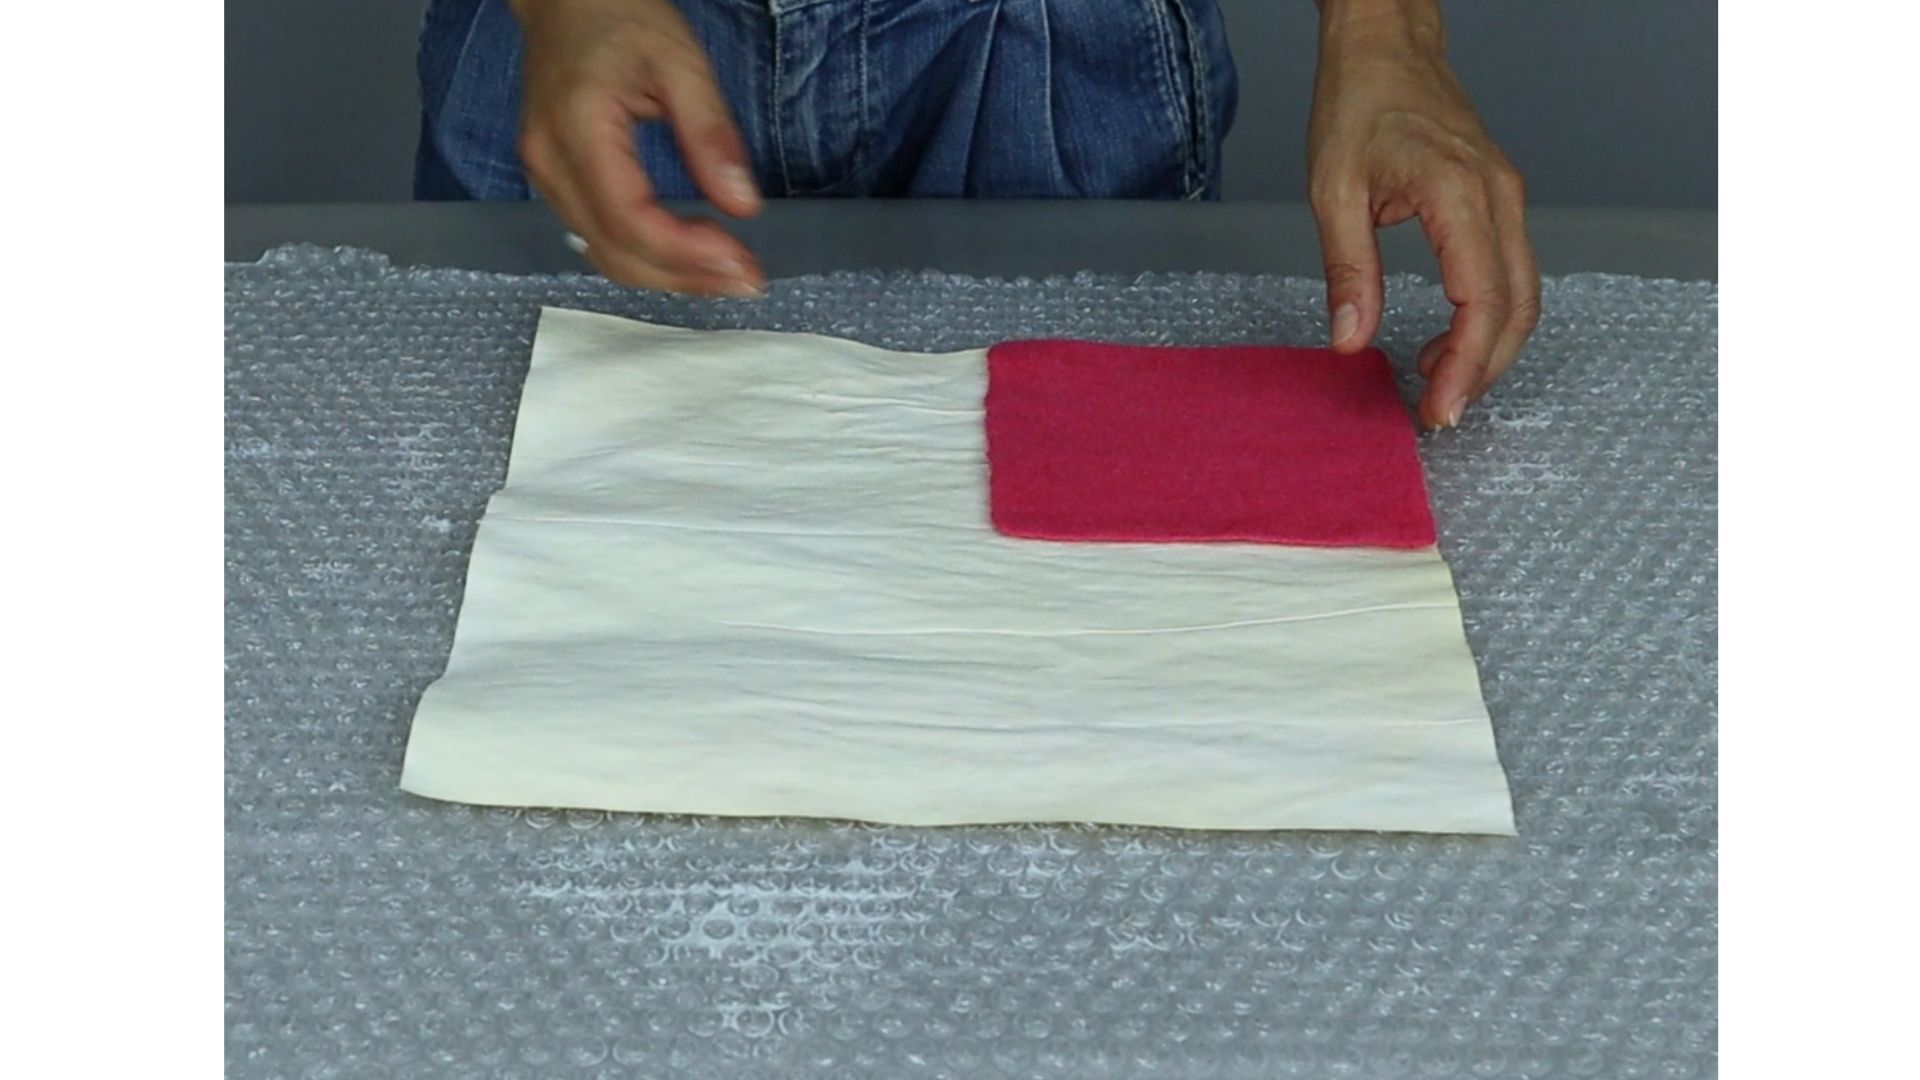
After experimenting with wet felting for some time, learning the basics and maybe even felting some pieces on a resist, you may feel you’d like your felt to become more professional and well finished. Yet, you may also not know what to do to get to that next level of quality you’d like to achieve.
...This video is the first one of a new series, in which we’ll be looking into the topic of making cords or ropes in wet felting.
While it’s more geared towards beginner felt makers, I know that many more experienced people also struggle with this. During my years as a felting teacher, I’ve gotten man...
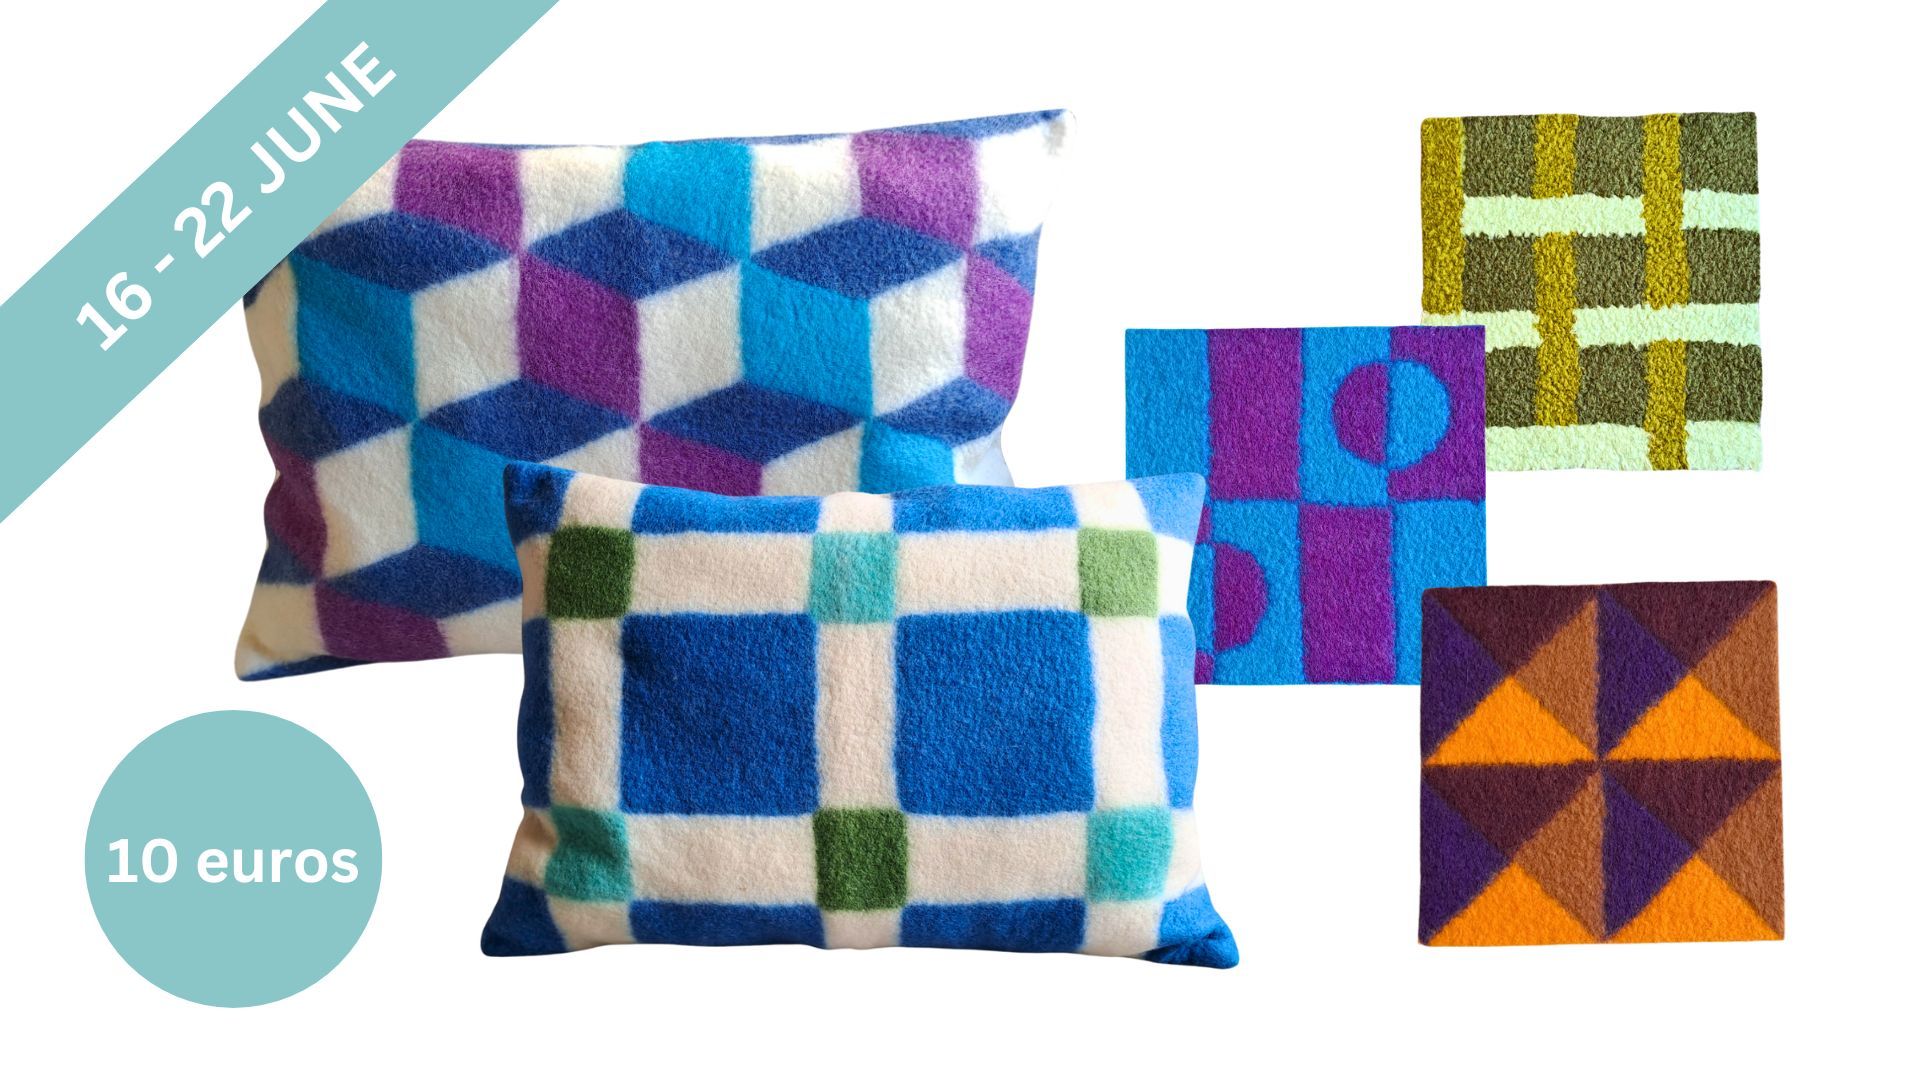
So you had a look at the program, and now you’re thinking “Yes, one technique a month. But what do we really felt inside THE DODO HUB?”
I get that it may not be totally clear to you, so let me help you with that.
First, above there's a short video of some of the beautiful pieces made by the partic...
If you’ve been waiting to enroll in THE DODO HUB, I’ve got good news! The registration is open as of now.

Are you new to the DODO world, and not sure what THE DODO HUB is?
- It’s a comprehensive year-long program designed to take you from the intermediate level to an advanced and independent ...
