The Dodo Blog
Have you ever wondered whether your wet felted project is actually finished?
Many felt makers worry about over-felting, but more often than not, the real problem is stopping too early. Under-fulled felt is more likely to pill, lose its shape, and wear out faster.
While your eyes and hands get ...
Today's video is a little different from what I usually do.
I wanted to let you know that I'm taking a short two-week break from publishing new videos. But, before I go, I wanted to share two exciting updates with you.
First, when I return, I'll be starting a brand-new video series all about ...
Last week, we had a look at the reasons why a sander can be such a useful tool for wet felting, especially for nuno felting and embellishing with viscose fiber. We also spoke about what to look for when choosing one.
This week, we get into the issue that makes most felt makers nervous: how to pr...
Nervous about mixing water and electricity? I was too!
I've been wet felting for a long time, but it took me until three years ago to finally try working with a sander. And honestly? I wish I hadn't waited so long.
Is it worth it?
Not for every project. But for nuno felting and felting with vi...
In the last couple of weeks, we’ve been talking about pre-felts. Today, I’m continuing this series on pre-felts and I’d like to answer some questions that I got about the topic.
Here are the questions I’m answering in this video:
- I am very curious about pre-felts, especially as a new wet felte ...
Learning to properly work with pre-felts is one of the best things you can do to take your wet felting to the next level, since they can be used for so many things from surface patterns to 3D felt.
Last week we had a look at the differences between handmade and commercial pre-felts. And this week ...
Let’s talk about pre-felts.
A pre-felt is simply a partially felted piece of wool felt. In other words, it’s simply a stage in the wet felting process.
This means that a pre-felt can be further felted. And that’s precisely why pre-felts are so interesting.
That means that you can add them to y...
When you’re new to wet felting, the hardest part isn’t the techniques. It’s not knowing what actually matters and why.
Most beginners are shown steps to follow, but not the reasoning behind them. So, when something doesn’t work, you’re left guessing: Was it the wool? The soap? The water? The way I ...
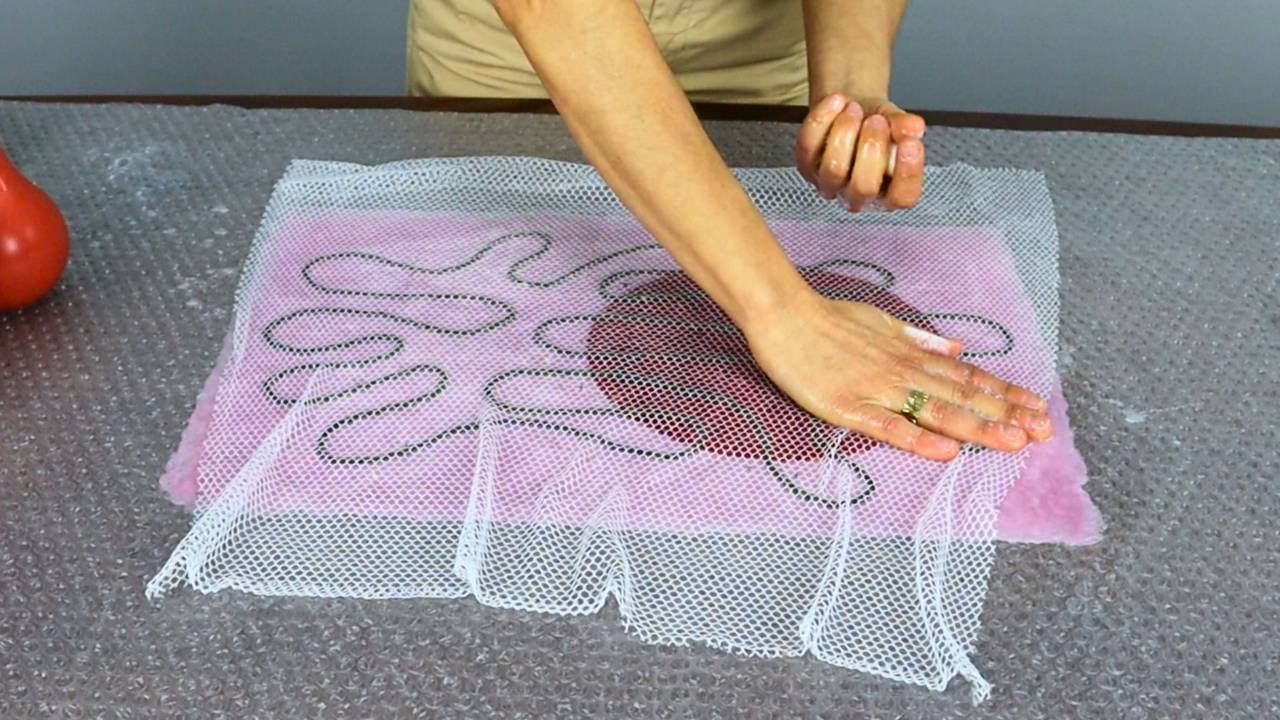
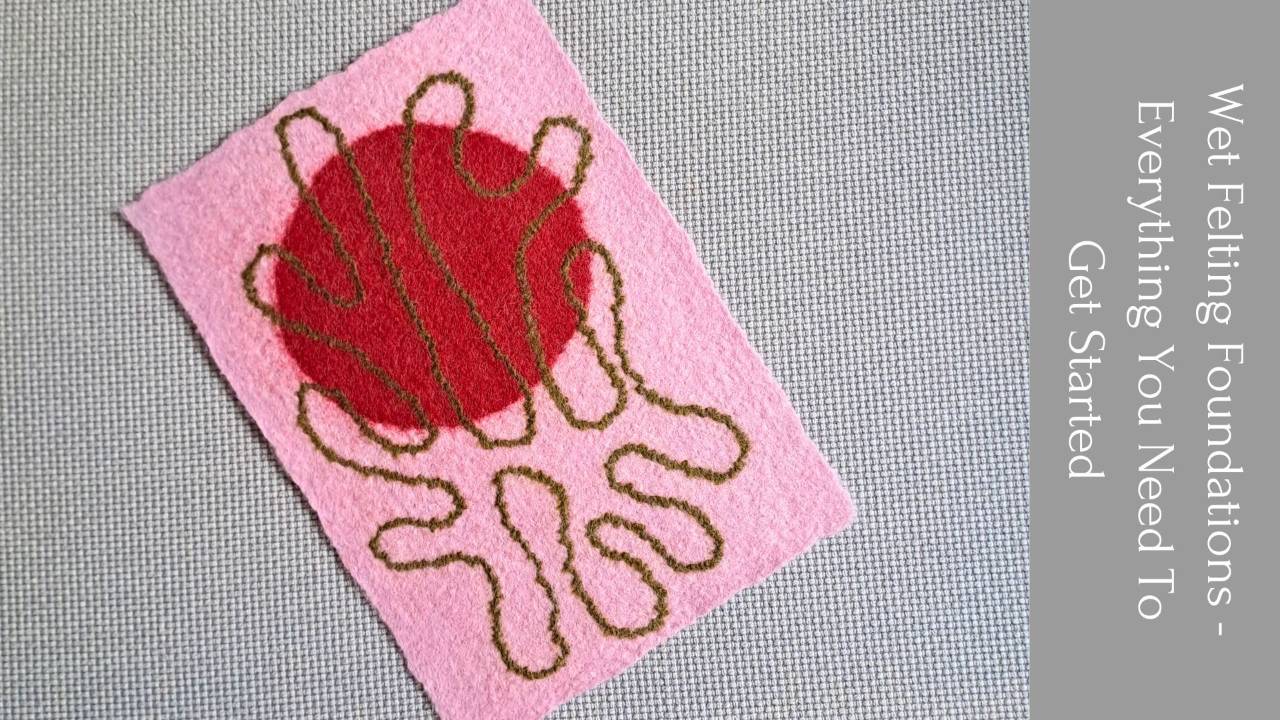
Have you checked out what’s in the new class?
It’s called Wet Felting Foundations - Everything You Need To Get Started and it’s the first step in a three-part beginner pathway, created to help you build strong, reliable skills and grow into a confident intermediate felt maker.
The registration sta...
If you’ve been following me lately, you know I’ve been working on a class for beginner felt makers for some time.
So, I’m super excited to let you know it’s ready and available for registration.
As usual, as part of my inner circle, you have the chance to get it for the early bird price from today...
Did you know that it’s possible to wet felt without soap? It’s not very common. Most felt makers use soap to felt, but there are some who don’t.
Because I’m curious and I like to test everything, I decided to make a small sample to see how it works. You never know. Sometimes you do something in a c...
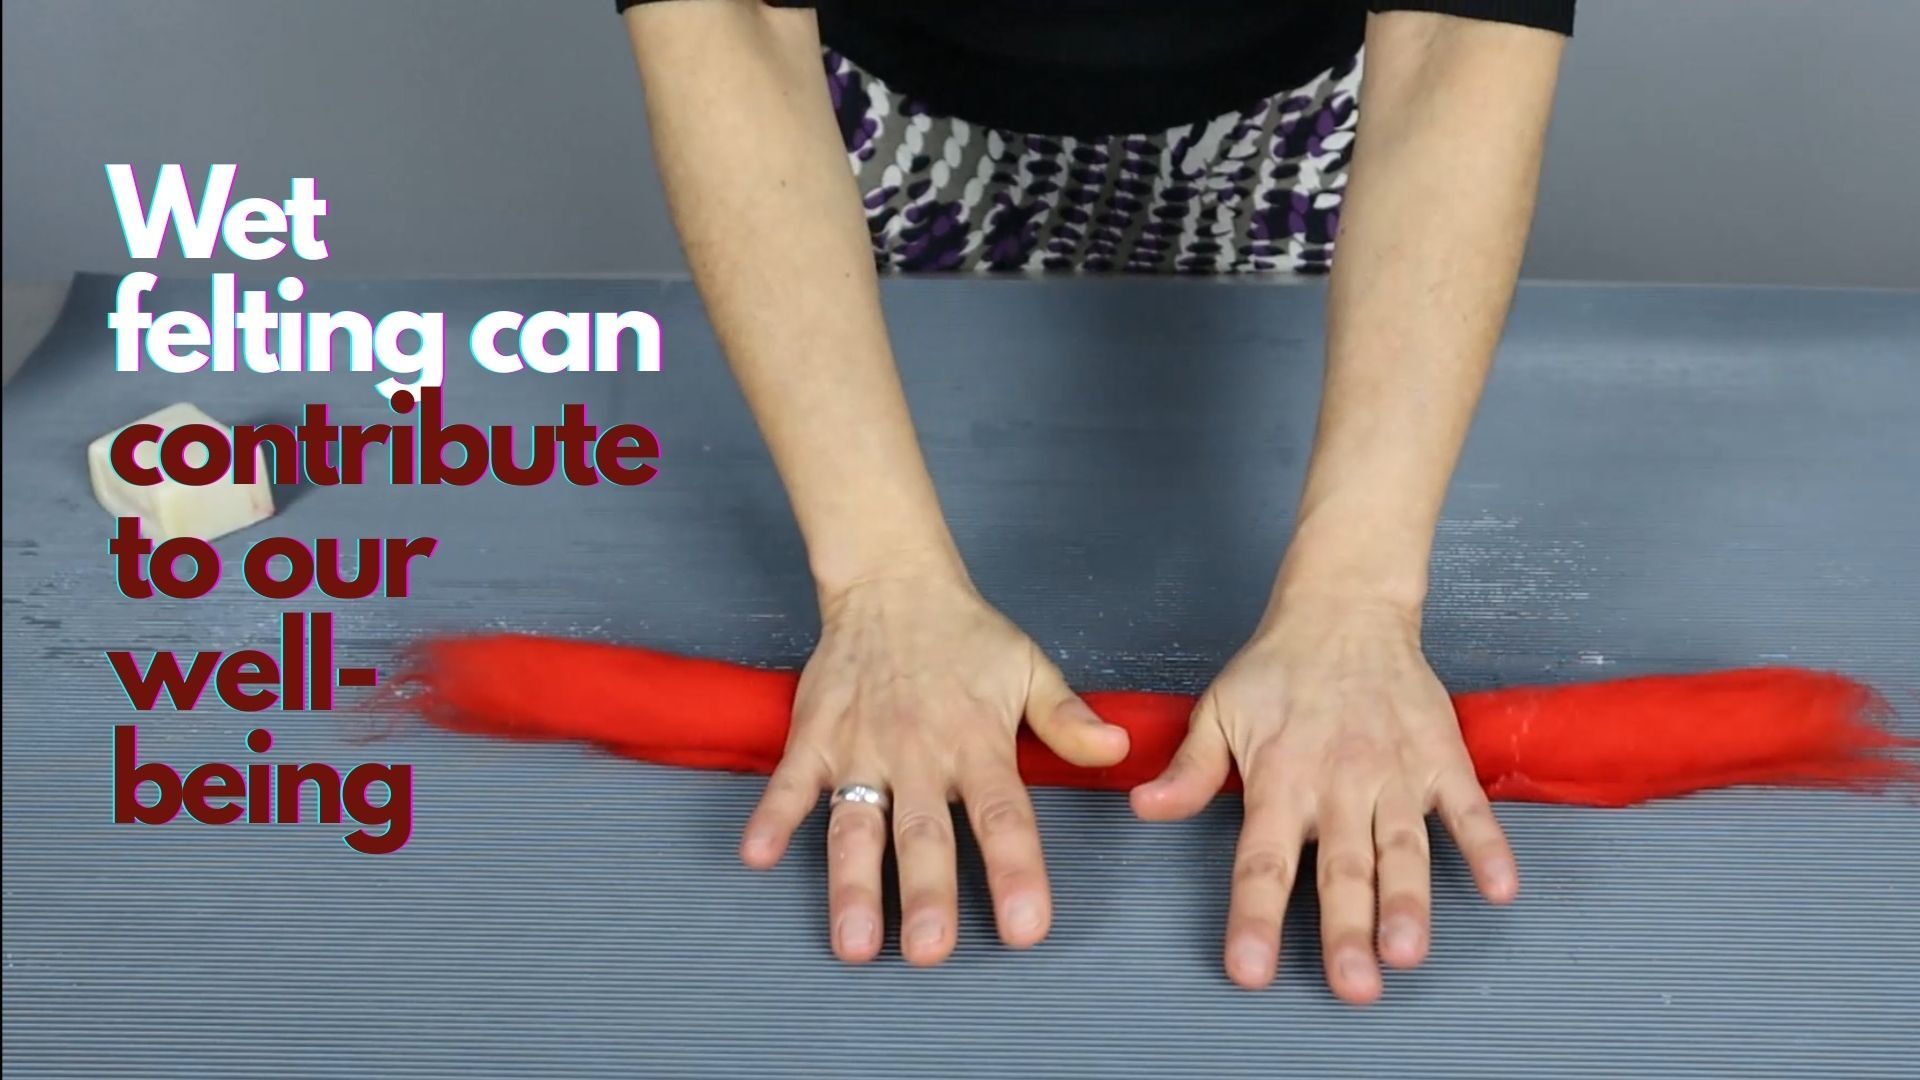
Wet felting contributes to our well-being and it can even be therapeutic. It’s been used in the Waldorf method for a long time to cultivate the connection to Nature through a natural material, to engage the senses, develop fine motor skills, concentration and creativity in children.
If you’ve been ...
